Manage Project
You have the capability to manage projects. This involves various activities and tasks related to planning, organizing, and executing projects. With project management tools and features, you can create new projects, define project goals and objectives, allocate resources, set timelines and milestones, track progress, and monitor project budgets.
In project management, you can break down projects into smaller tasks or sub-tasks and assign them to team members. You can set dependencies between tasks, establish task priorities, and track task completion. Additionally, you can generate project reports and analytics to gain insights into project performance, resource utilization, and overall progress.

Step 1: Click the "Filter, Status and Create" Button
Filter
Allowing you to sort projects from the newest to the oldest or vice versa. Additionally, you can filter projects alphabetically, either from A to Z or from Z to A, based on project names or other relevant attributes. These filtering options help you quickly locate and organize projects based on your preferences and requirements, enabling easier navigation and management of your project portfolio.
Status
This allows you to filter and display projects according to different statuses, including "Show All" to view all projects, "In Progress" to see projects currently being worked on, "On Hold" for projects temporarily paused or waiting for further action, "Incomplete" for projects that are not yet finished, and "Cancelled" for projects that have been terminated or discontinued. Sorting projects by status provides you with a convenient way to focus on specific project states and track their progress effectively.
STEP 2: Create New Project
Once you click the create button, you can proceed to create a new project using the following steps:
- Enter the project name.
- Set the start date of the project.
- Set the end date of the project.
- Add an image or logo for the project (optional).
- Select the client associated with the project.
- Choose the users or team members involved in the project.
- Specify the project budget.
- Estimate the number of hours required for the project.
- Provide a description of the project.
- Add relevant tags to categorize the project.
- Set the status of the project (e.g., "In progress," "Completed," "On hold," etc.).
- Click the create button to finalize the creation of the new project.
These steps will help you set up and manage your projects efficiently within the ERP system.

STEP 3: "Invite user, edit and delete" Button
Edit and delete
You have the ability to edit and delete projects. This allows you to make changes to project details or remove projects as needed. Editing a project allows you to update information such as project name, dates, budget, description, and other relevant details. Deleting a project permanently removes it from the system. These options provide flexibility in managing and organizing your projects effectively.

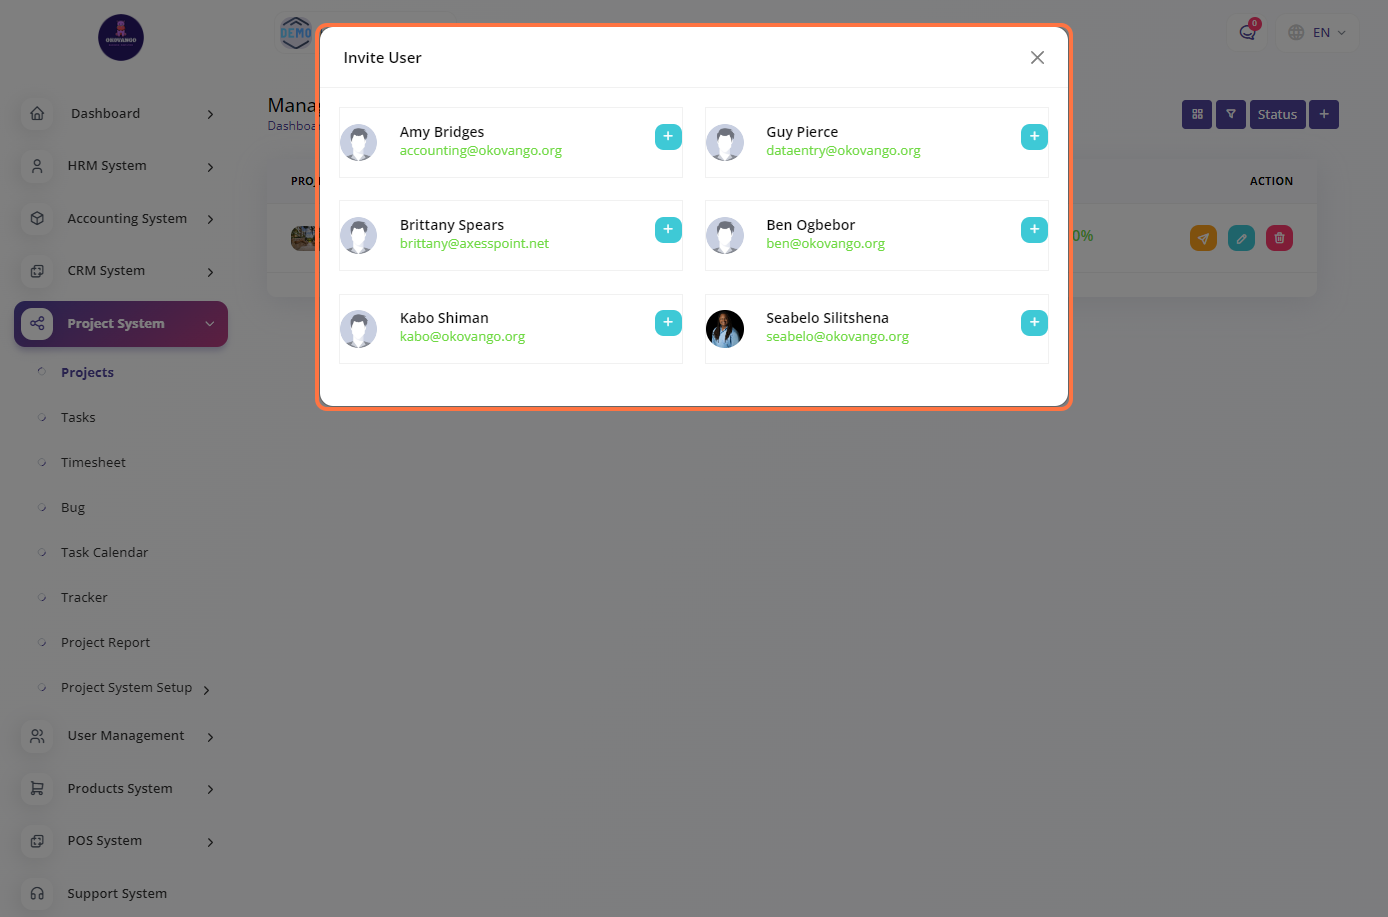
Invite User
You have the option to invite users to collaborate on a specific project. By inviting users, you can assign them roles and provide them with access to project-related information and tasks. This facilitates teamwork, communication, and coordination among project team members. Inviting users allows for efficient collaboration and ensures that everyone involved in the project is connected and aligned.