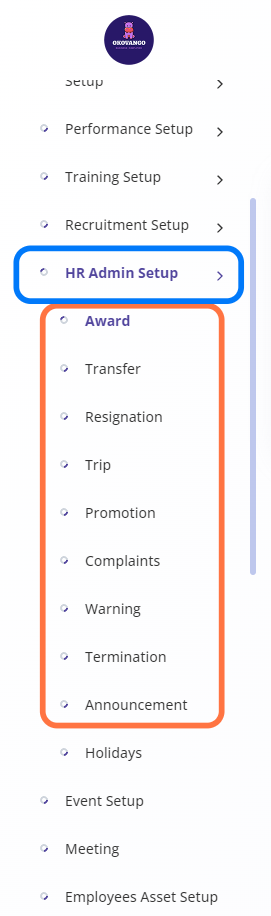
Navigating HR Admin Setup
The HR Admin Setup section encompasses various aspects of HR management, including awards, transfers, resignations, trips, promotions, complaints, warnings, terminations, and more. It provides a centralized platform for handling these HR processes within the organization. HR administrators can utilize this section to efficiently manage and document employee-related activities and events. It streamlines HR workflows and ensures proper handling of important HR matters.
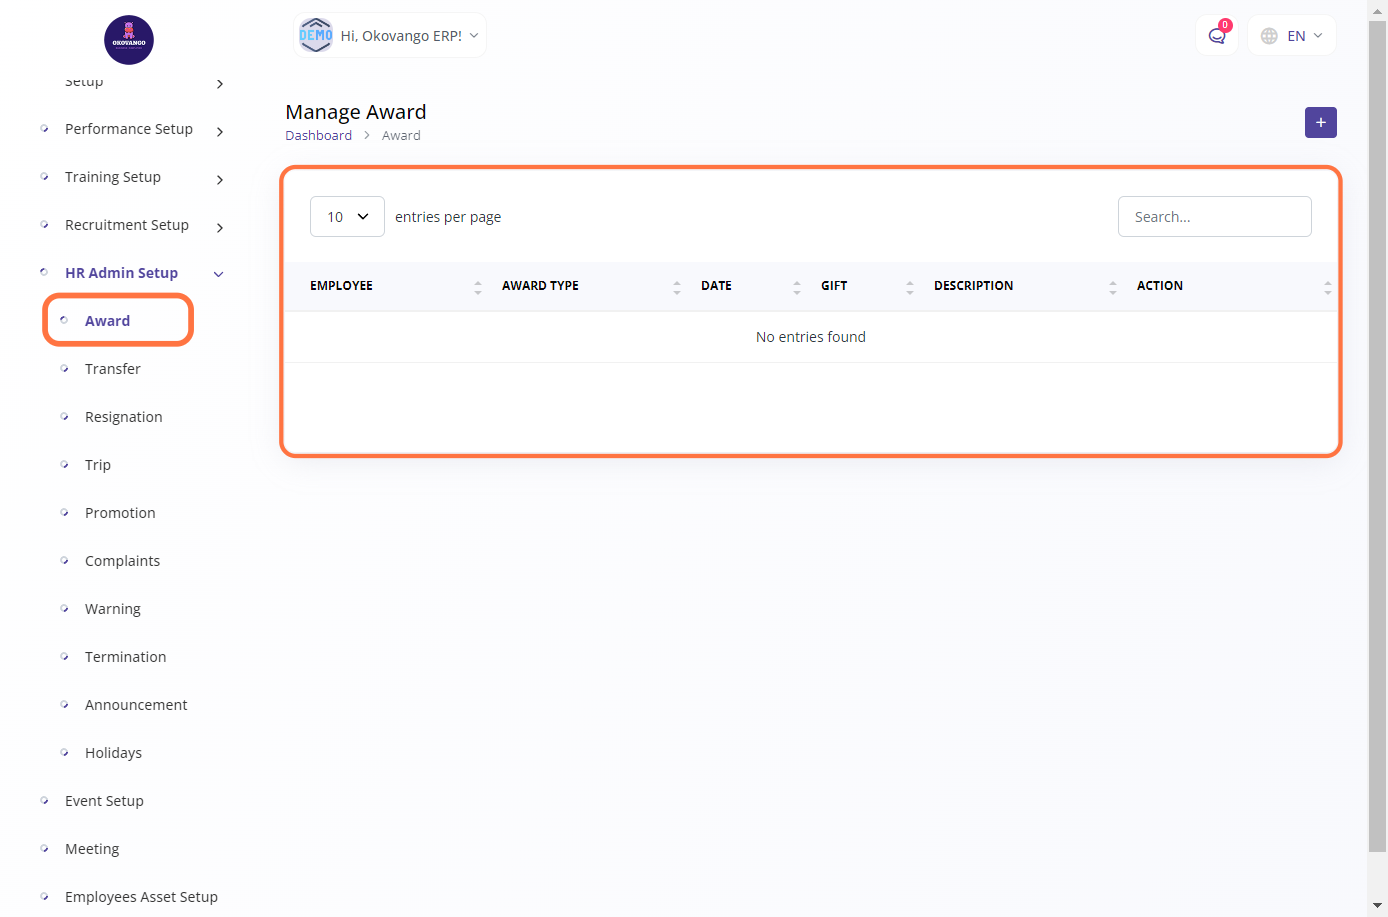
Award
The award setup section allows you to define and configure awards within the organization. It provides a platform to create and manage various types of awards, such as recognition for outstanding performance or achievements. You can set up award criteria, nomination processes, eligibility requirements, and associated rewards or benefits. This feature enables you to streamline the award management process and ensure consistent recognition of employee contributions.
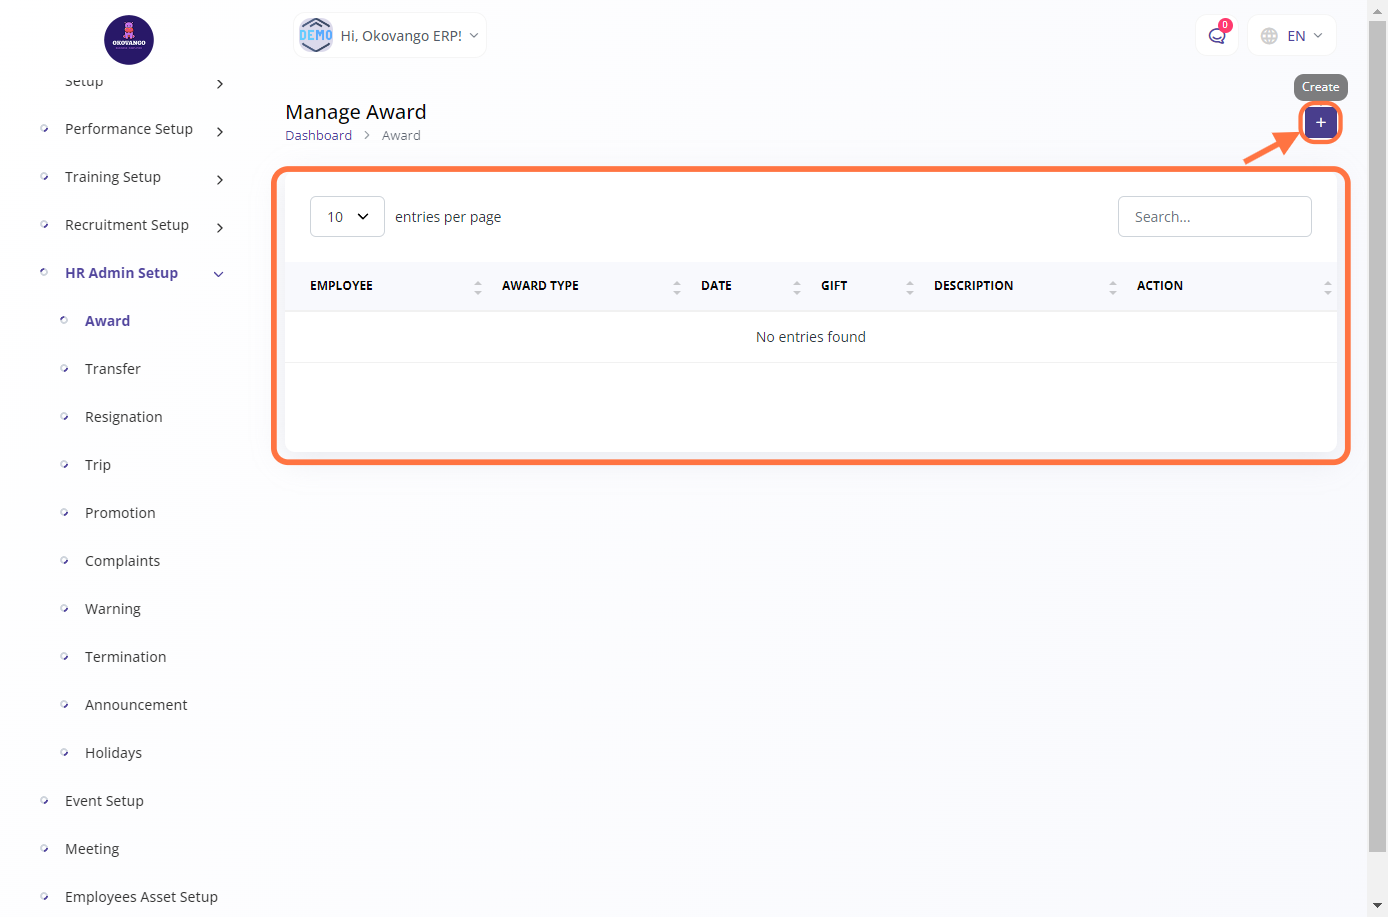
STEP 1: Click on "Create" Button
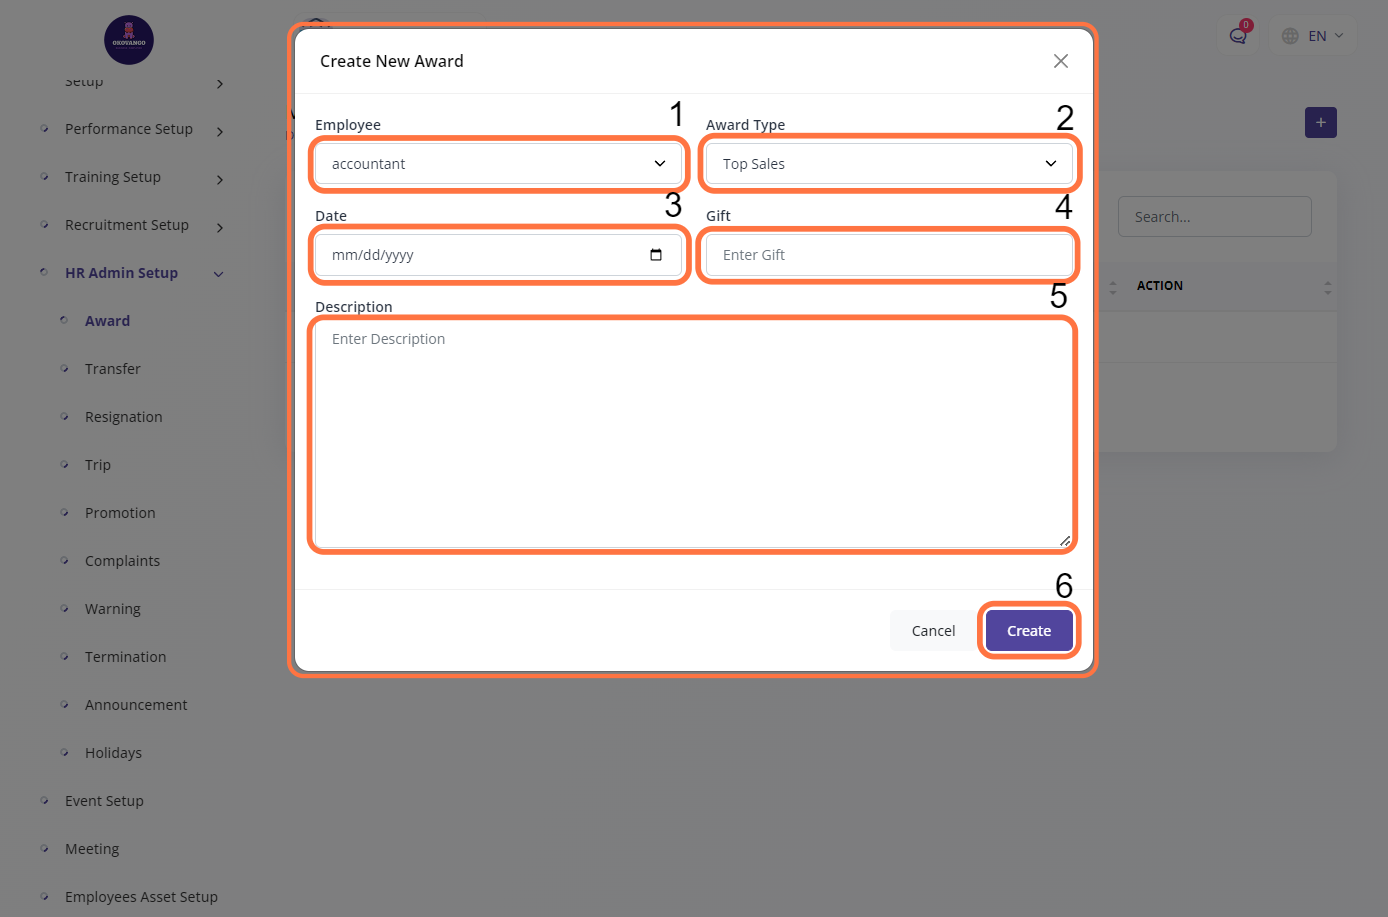
STEP 2: Create New Award
After clicking the create button, you can proceed to set up an award by following these steps:
- Select the employee who will receive the award.
- Choose the type of award from the available options.
- Enter the date on which the award is being given.
- Specify any accompanying gift or prize associated with the award.
- Provide a description or reason for granting the award.
- Click the create button to finalize the setup.
By following these steps, you can effectively set up an award, ensuring that it is attributed to the appropriate employee, with relevant details such as the award type, date, gift, and description.
Transfer
The transfer management section allows you to handle employee transfers within the organization. It provides a platform to initiate, track, and manage employee movements between different departments, branches, or locations. You can easily process transfer requests, update employee records, and ensure smooth transitions. This feature streamlines the transfer process and facilitates effective communication and coordination between departments and HR administrators.
![]()
STEP 1: Click on "Create" Button
![]()
STEP 2: Create New Transfer
After clicking the create button, you can proceed to set up a transfer using the following steps:
- Select the employee who is being transferred.
- Choose the destination branch where the employee will be transferred to.
- Select the department within the destination branch where the employee will be assigned.
- Specify the transfer date, indicating when the transfer will take effect.
- Provide a description or reason for the transfer.
- Click the create button to finalize the setup.
By following these steps, you can effectively set up a transfer, ensuring that the employee is correctly assigned to the desired branch and department, with relevant details such as the transfer date and description.
![]()
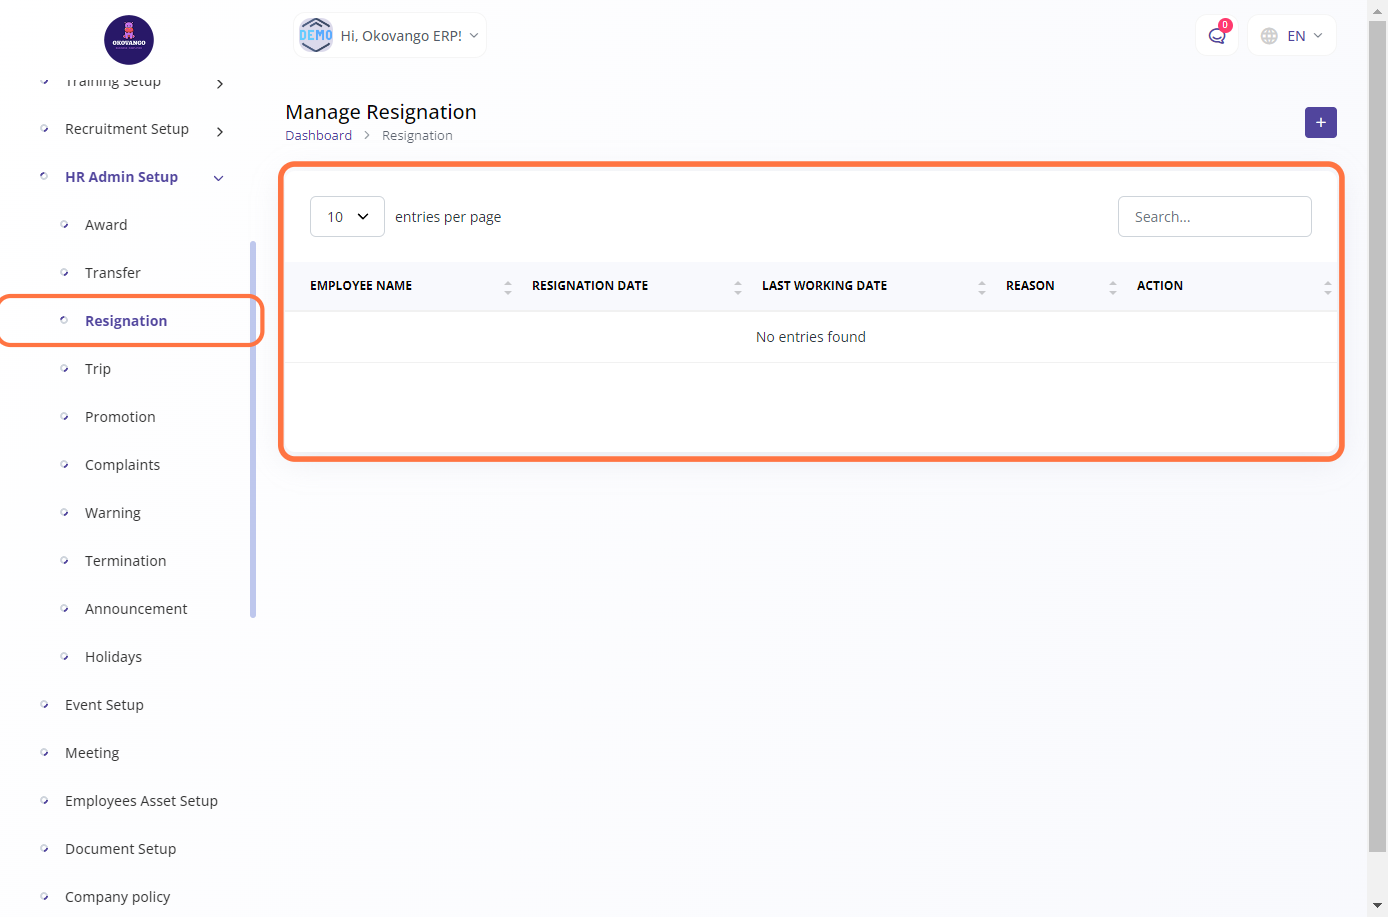
Resignation
The resignation management section allows you to handle employee resignations within the organization. It provides a platform to process and manage employee resignations, ensuring a smooth transition and proper documentation. You can track resignation details, update employee records, and facilitate necessary processes such as exit interviews and clearance procedures. This feature helps streamline the resignation process and ensures effective communication and documentation between HR administrators and employees.
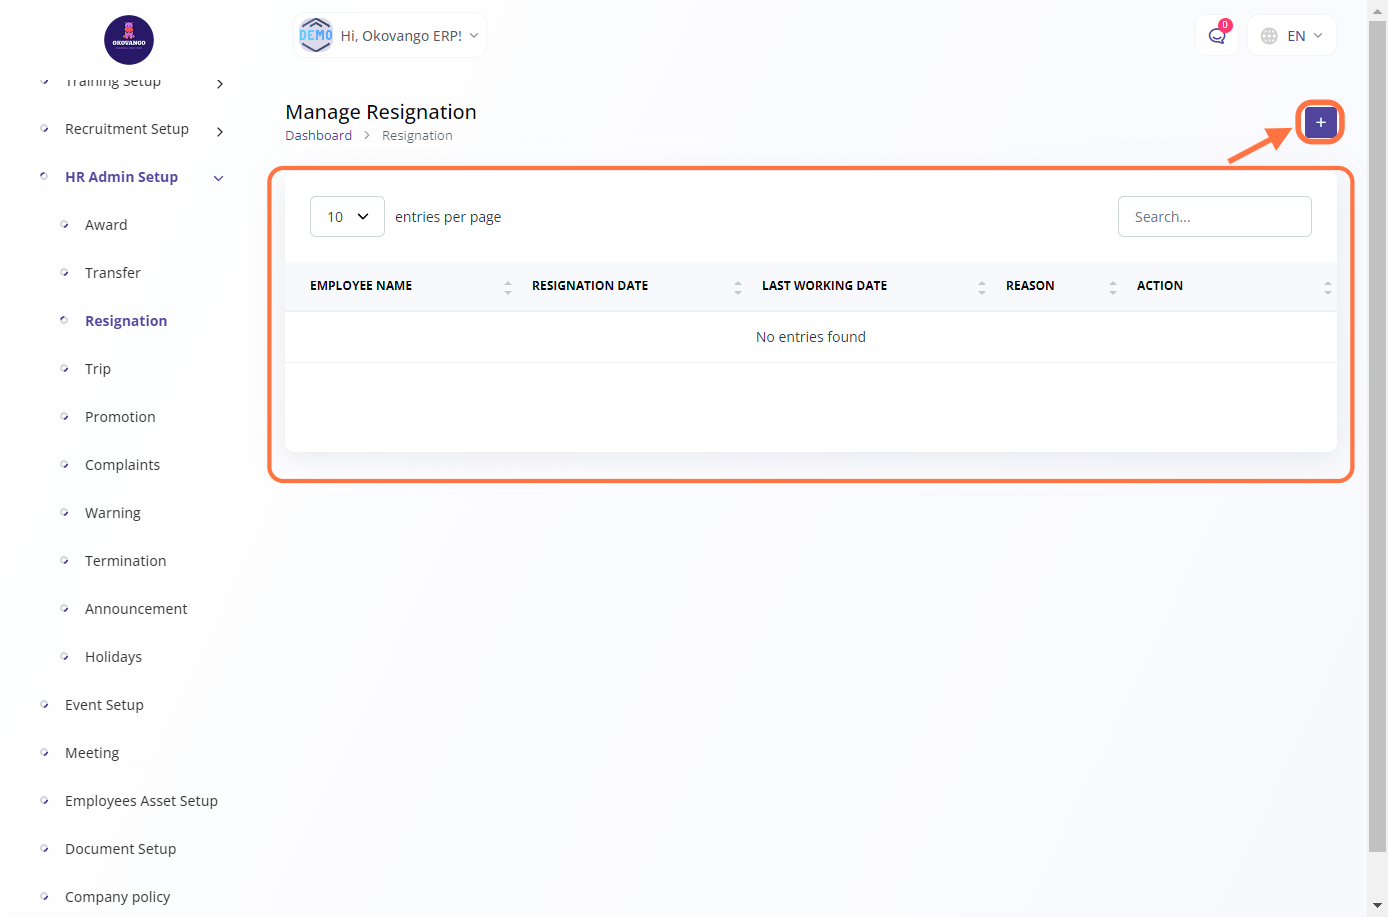
STEP 1: Click on "Create" Button
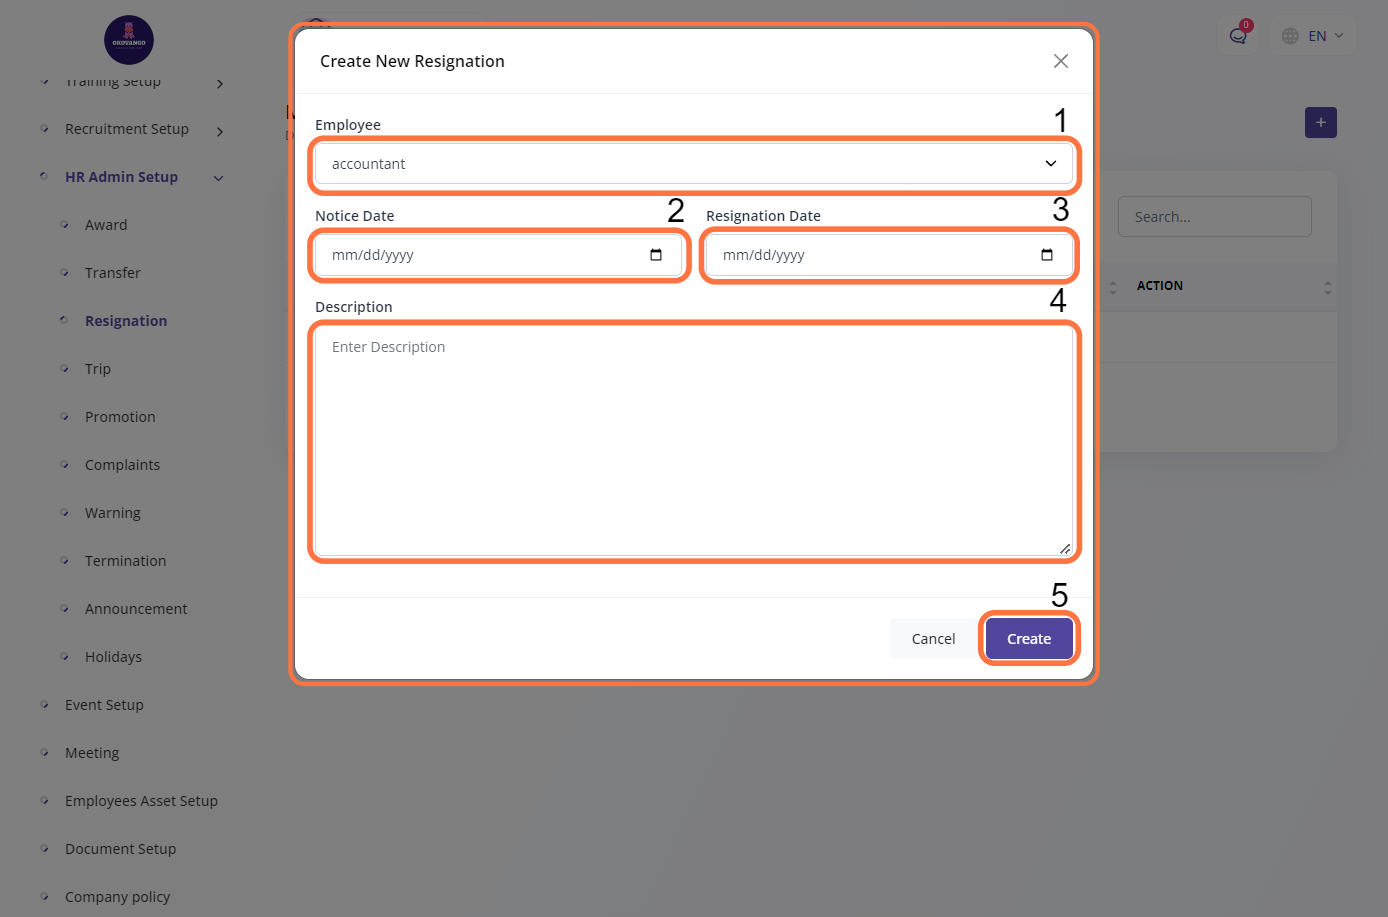
STEP 2: Create New Resignation
After clicking the create button, you can proceed to set up a resignation using the following steps:
- Select the employee who is resigning from the organization.
- Enter the notice date, indicating when the employee provided their resignation notice.
- Enter the resignation date, which is the last working day for the employee.
- Provide a description or reason for the resignation.
- Click the create button to finalize the setup.
By following these steps, you can effectively set up a resignation, ensuring that the employee's departure is properly documented, with relevant details such as the notice date, resignation date, and description.
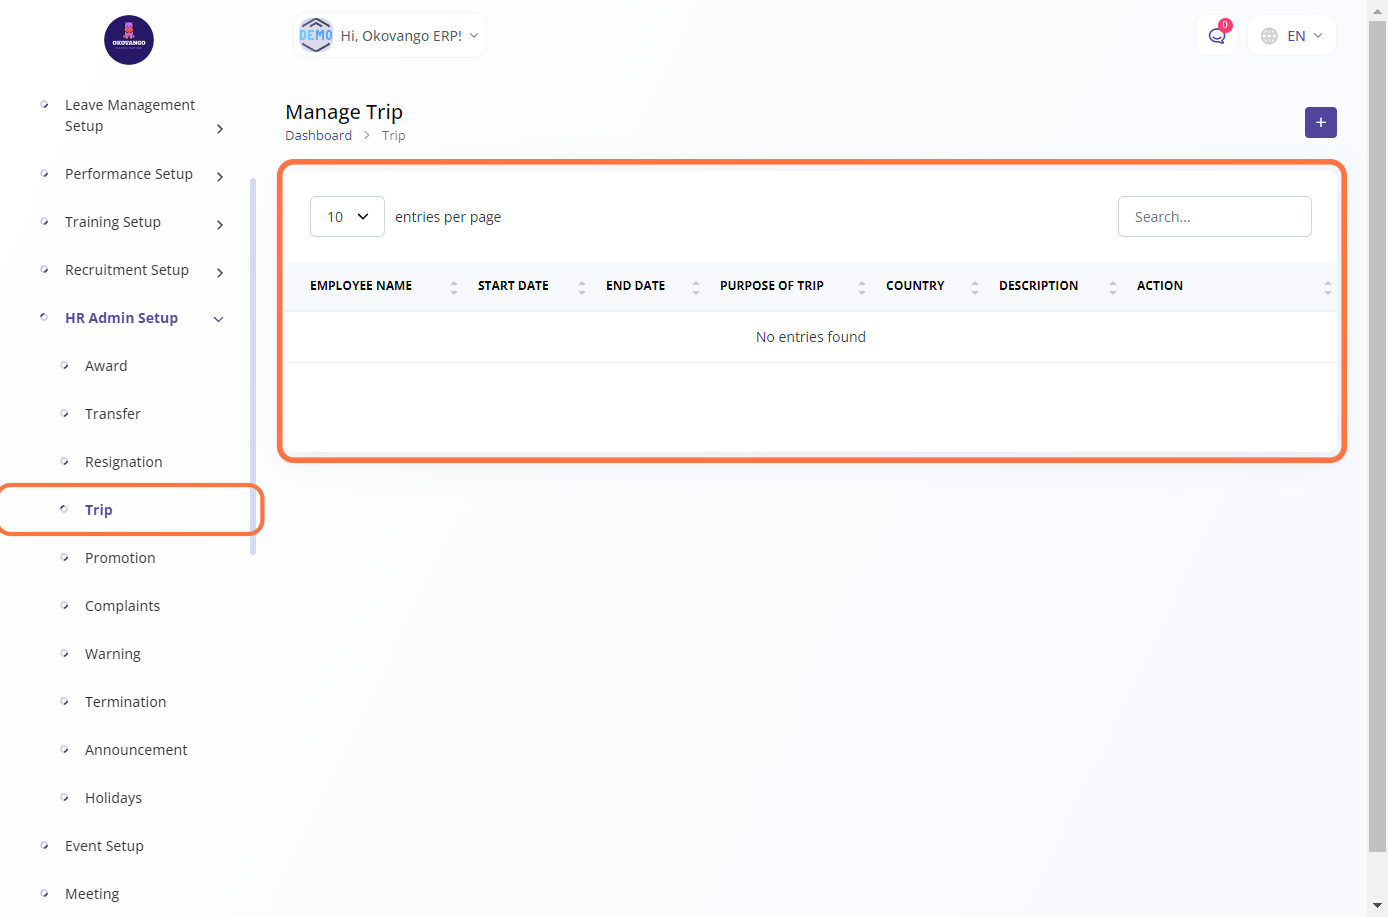
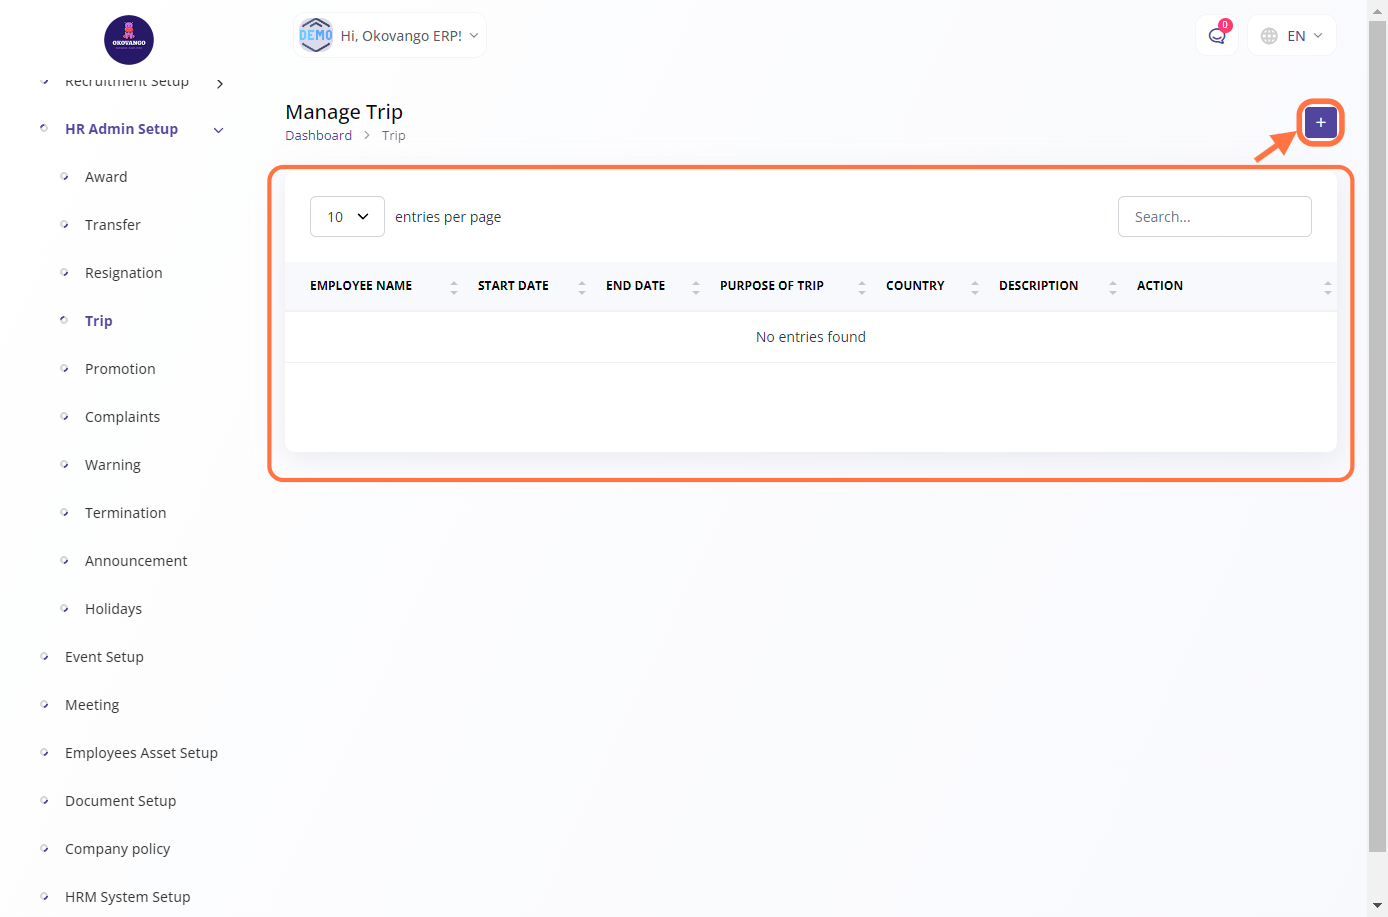
Trip
The trip management section allows you to handle employee trips or business travels within the organization. It provides a platform to manage and track trip requests, approvals, and associated details. You can enter trip information such as destination, purpose, duration, and expenses. This feature helps streamline the trip management process, ensures compliance with travel policies, and facilitates efficient coordination between employees and the HR department.
STEP 1: Click on "Create" Button
STEP 2: Create New Trip
After clicking the create button, you can proceed to set up a trip using the following steps:
- Select the employee who will be going on the trip.
- Enter the start date of the trip.
- Enter the end date of the trip.
- Specify the purpose or reason for the trip.
- Select the country or destination where the trip will take place.
- Provide a description or additional details about the trip.
- Click the create button to finalize the setup.
By following these steps, you can effectively set up a trip, ensuring that the employee's travel details are accurately recorded, with relevant information such as the start date, end date, purpose, destination, and description.

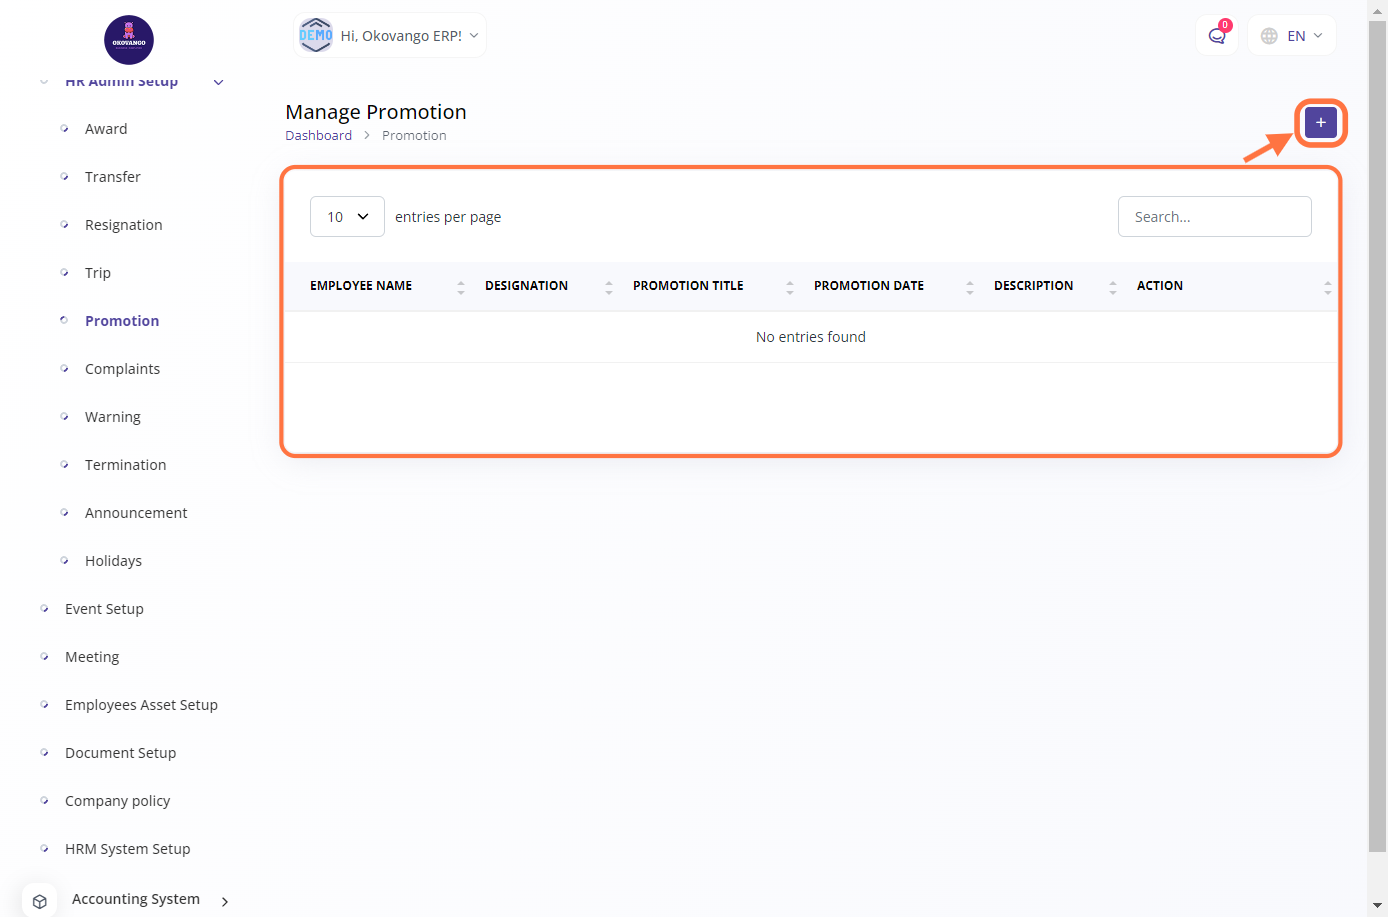
Promotion
The promotion management section allows you to handle employee promotions within the organization. It provides a platform to process and manage promotion requests, track promotion history, and update employee records accordingly. You can specify the promotion details such as the employee's new position, department, salary, and effective date. This feature helps streamline the promotion process, ensures transparency and fairness, and facilitates career progression for employees within the organization.

STEP 1: Click on "Create" Button
STEP 2: Create New Promotion
After clicking the create button, you can proceed to set up a promotion using the following steps:
- Select the employee who is being promoted.
- Select the new designation or position that the employee will be promoted to.
- Create a promotion title that represents the nature of the promotion.
- Specify the promotion date, which is the effective date of the promotion.
- Provide a description or additional details about the promotion.
- Click the create button to finalize the setup.
By following these steps, you can effectively set up a promotion, ensuring that the employee's new position, designation, and promotion details are accurately recorded, with relevant information such as the promotion title, promotion date, and description.

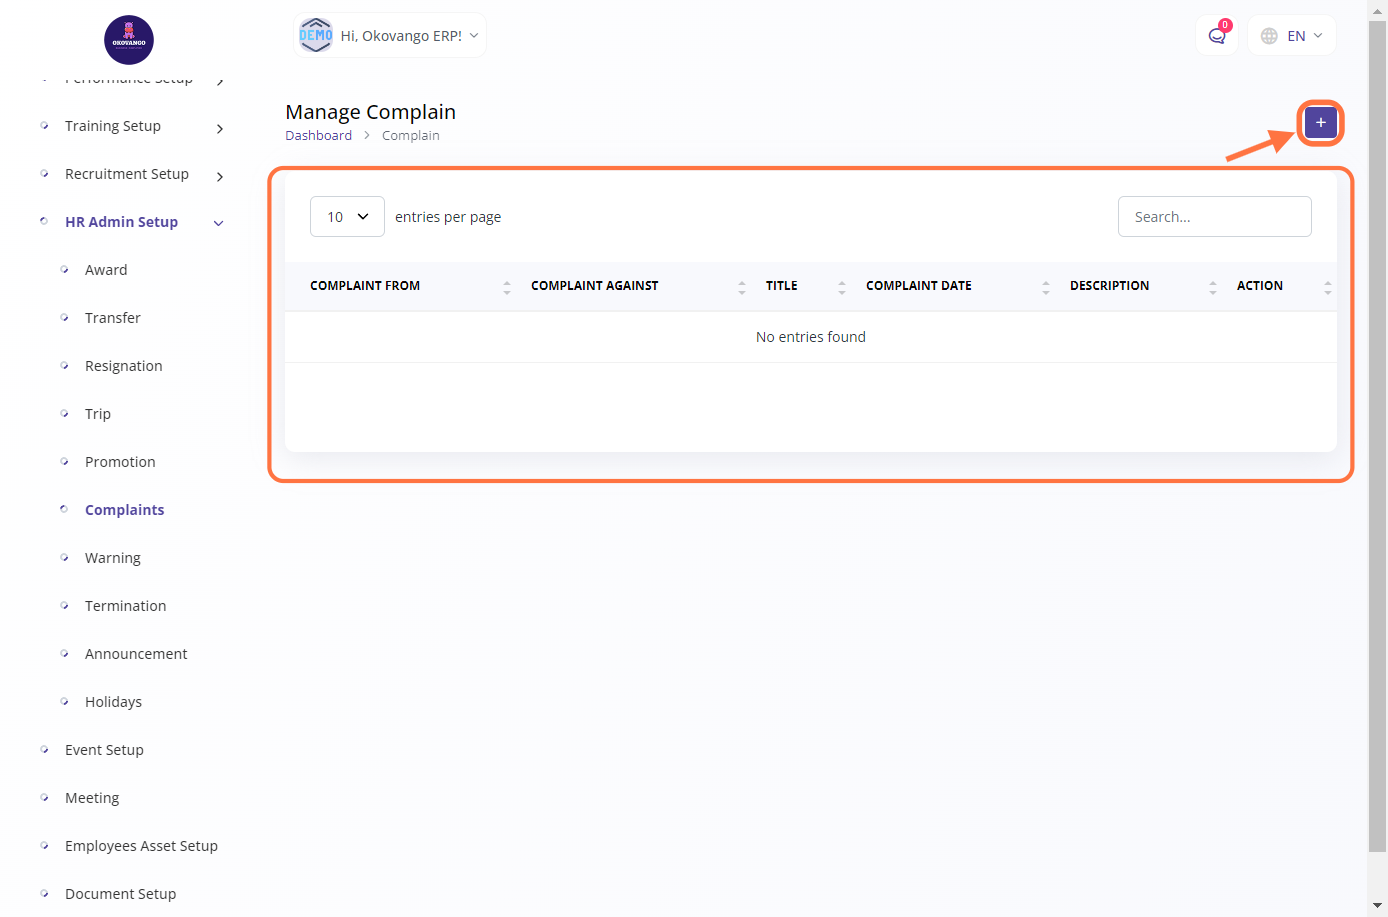
Complaints
In the complaints management section, you can create and handle employee complaints within the organization. This feature provides a platform for employees to report grievances or concerns, ensuring a transparent and systematic process for addressing and resolving issues. You can enter the details of the complaint, such as the complainant's name, description of the complaint, date filed, and any supporting documents. This helps in effectively managing and addressing employee complaints, promoting a healthy work environment, and ensuring employee satisfaction.

STEP 1: Click on "Create" Button
STEP 2: Create New Complaint
After clicking the create button, you can proceed to set up a complaint using the following steps:
- Specify the complainant, who is the individual filing the complaint.
- Identify the party being complained against.
- Provide a title or summary for the complaint.
- Enter the date when the complaint was filed.
- Describe the complaint in detail, including relevant information and supporting evidence.
- Click the create button to finalize the setup.
By following these steps, you can effectively set up a complaint, ensuring that the complainant, respondent, and complaint details are accurately recorded. This helps in maintaining a record of employee grievances and initiating appropriate actions to address and resolve the complaints.
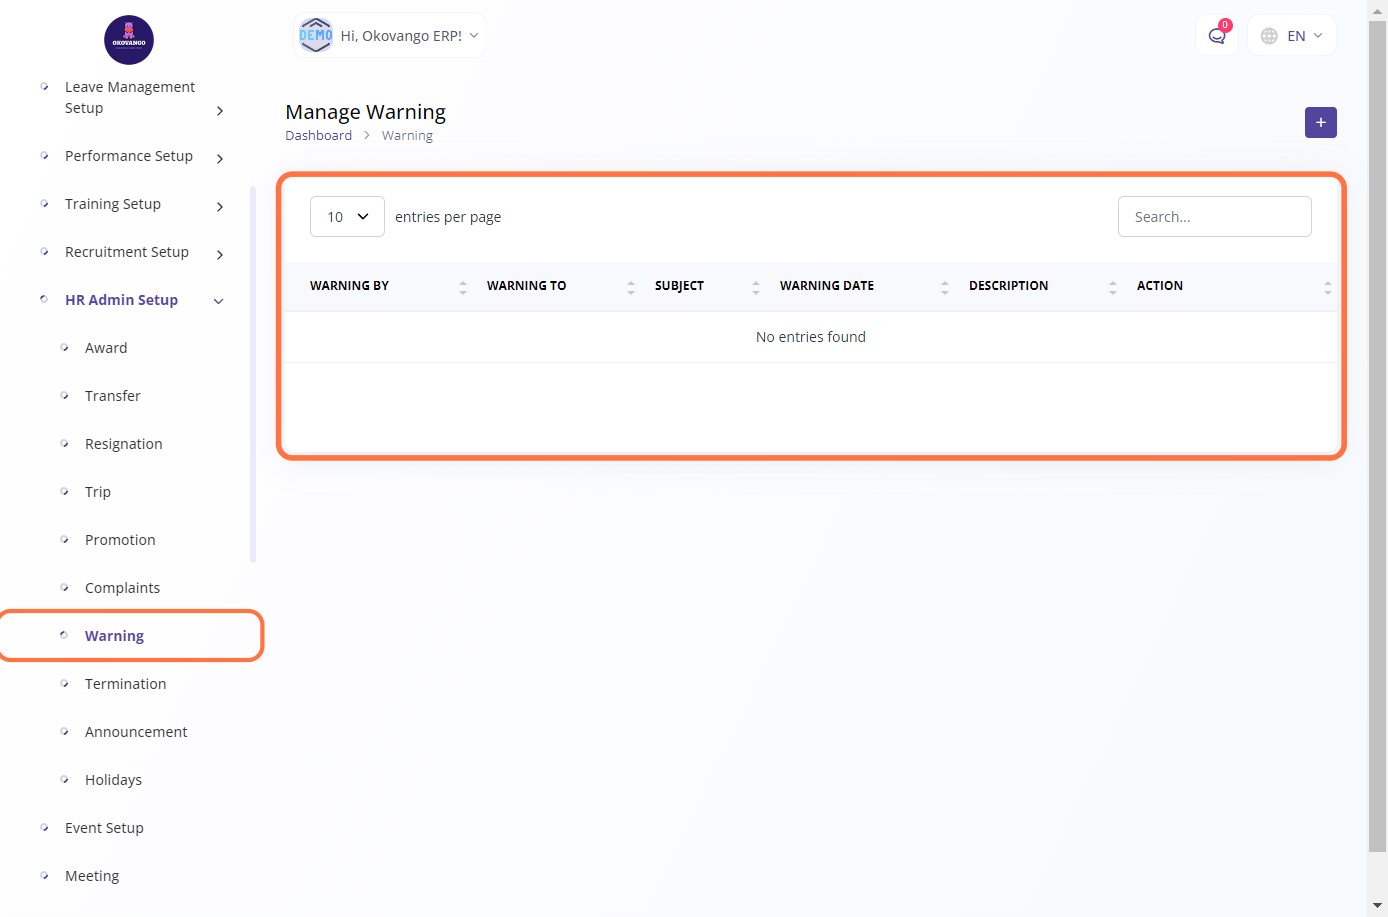
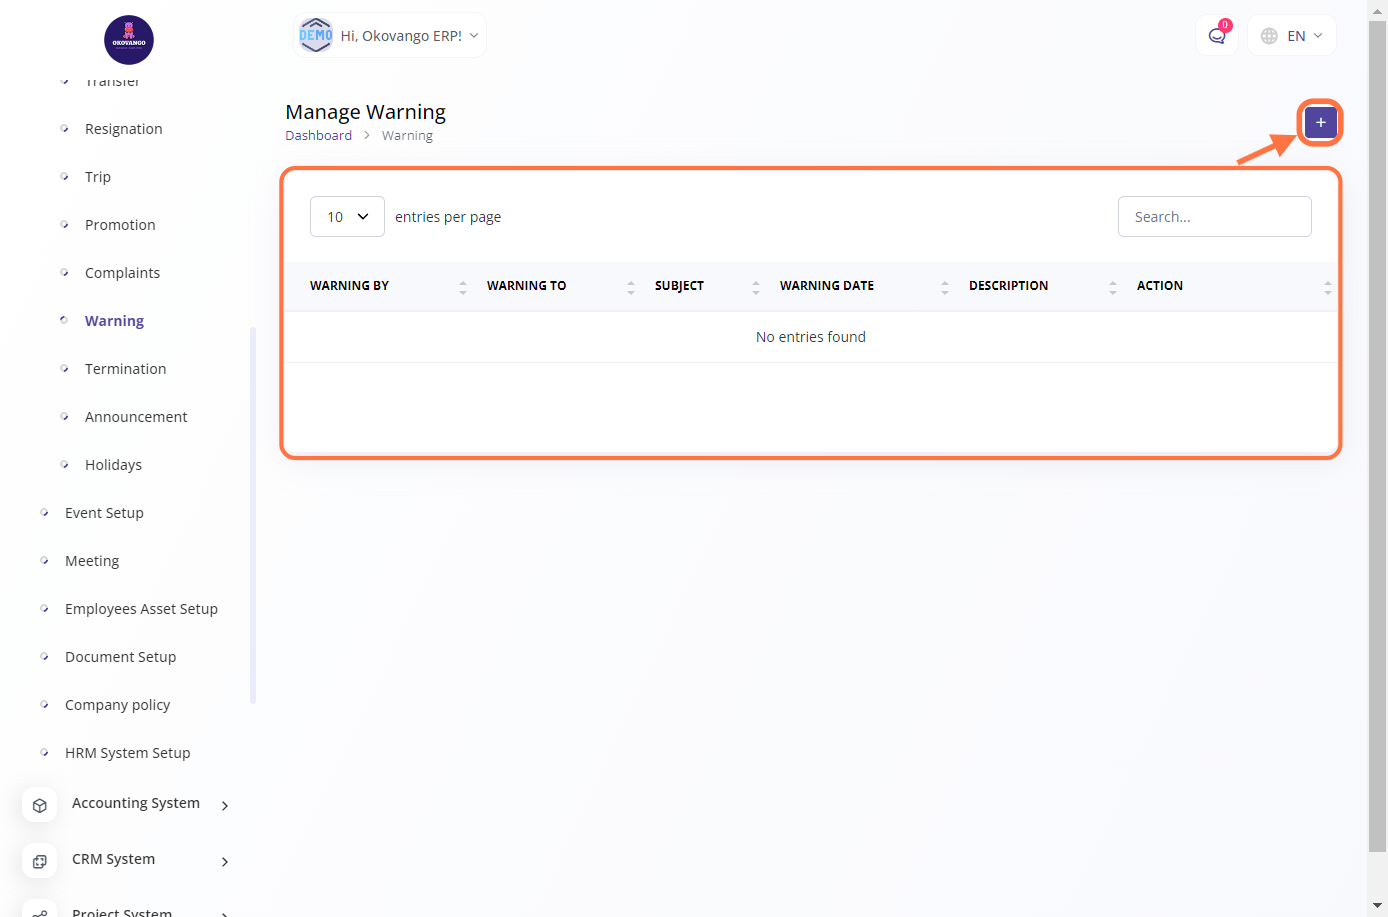
Warning
In the warning management section, you can create and manage warnings for employees within the organization. This feature allows you to document instances of misconduct, poor performance, or policy violations. You can specify the employee who is receiving the warning, select the type or category of the warning, provide a description of the incident or behavior, and set the warning date. This helps in maintaining disciplinary records, promoting accountability, and ensuring adherence to organizational policies and standards.
STEP 1: Click on "Create" Button
STEP 2: Create New Warning
After clicking the create button, you can proceed to set up a warning using the following steps:
- Identify the person issuing the warning (warning by).
- Specify the employee who is receiving the warning (warning to).
- Enter a subject or title for the warning.
- Set the date of the warning.
- Provide a detailed description of the incident, behavior, or performance issue.
- Click the create button to finalize the setup.
By following these steps, you can effectively set up a warning, ensuring that the issuing party, recipient, and warning details are accurately recorded. This helps in maintaining a record of disciplinary actions, promoting accountability, and addressing performance or behavior concerns within the organization.
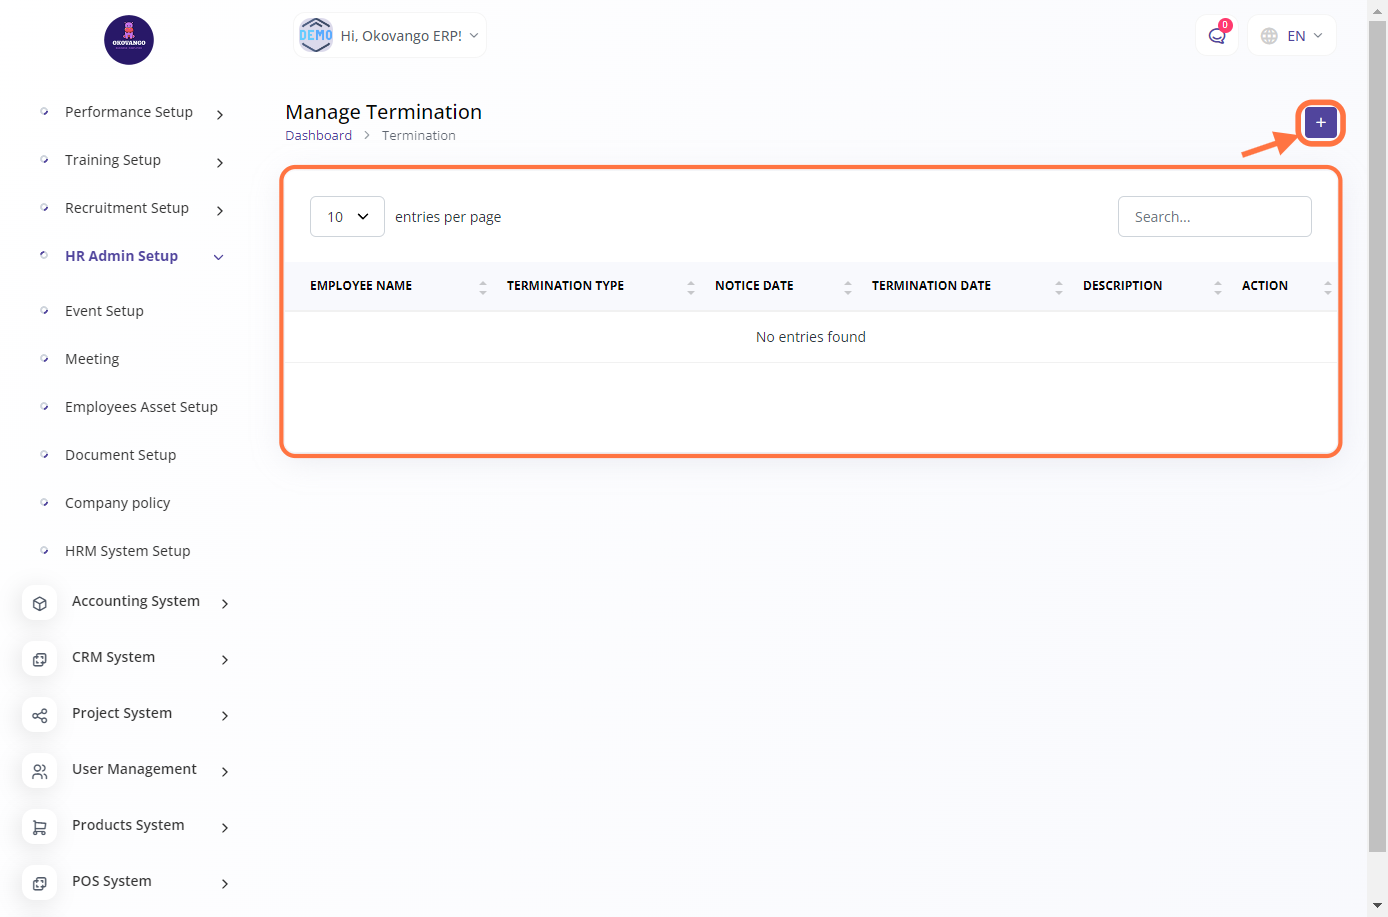
Termination
In the termination management section, you can create and manage terminations for employees within the organization. This feature allows you to document and process employee separations, including resignations, layoffs, or dismissals. You can specify the employee who is being terminated, select the termination type, provide a termination date, and include a description or reason for the termination. This helps in maintaining records of employment history, ensuring compliance with legal requirements, and managing the offboarding process effectively.
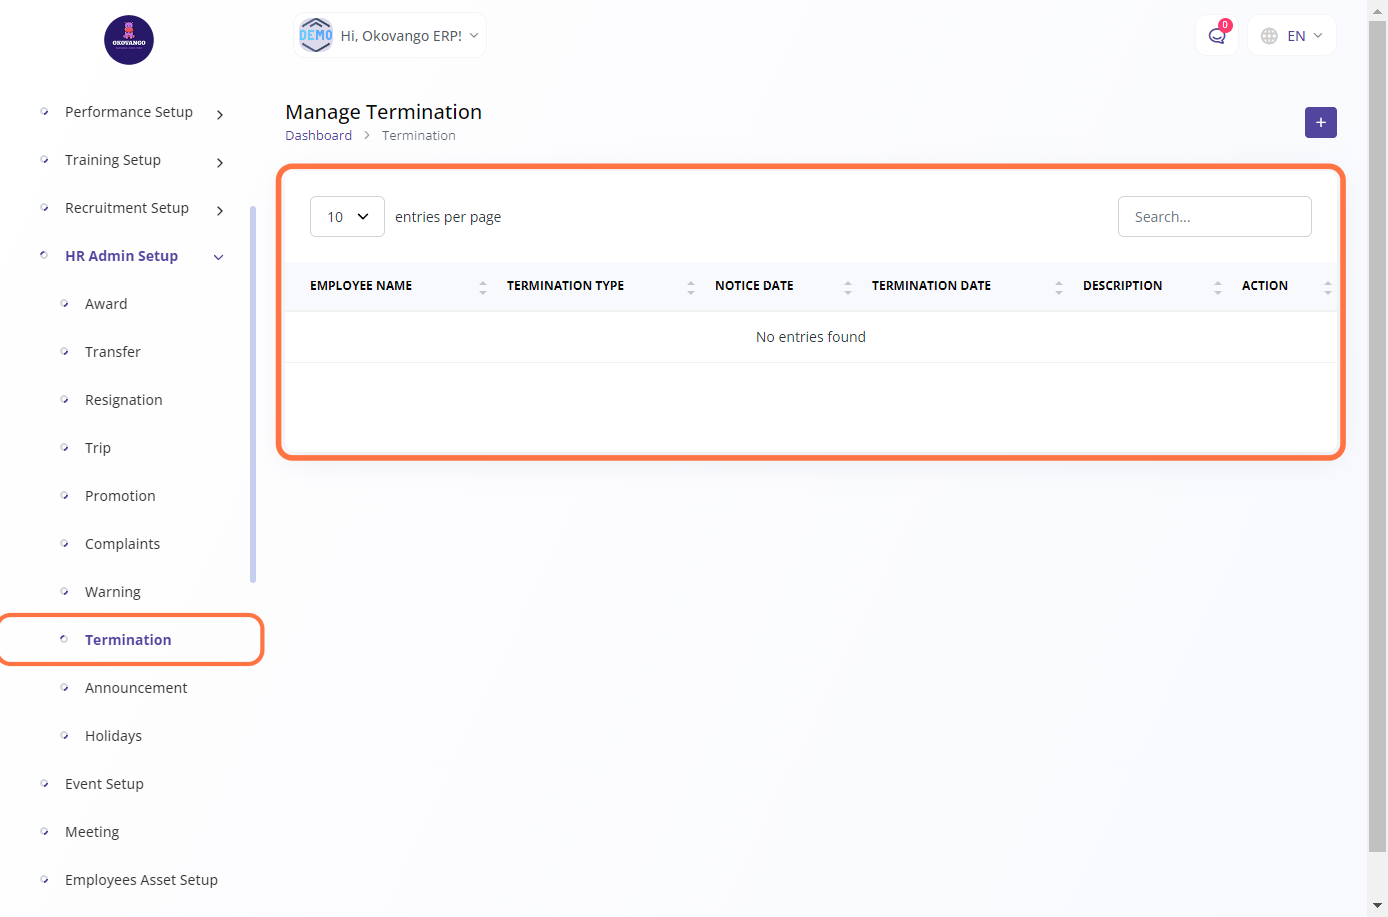
STEP 1: Click on "Create" Button
STEP 2: Create New Termination
After clicking the create button, you can proceed to set up a termination using the following steps:
- Select the employee for whom the termination is being recorded.
- Choose the appropriate termination type, such as resignation, layoff, or dismissal.
- Enter the notice date, which indicates the date when the employee provided notice of their intention to leave.
- Specify the termination date, which marks the official end date of the employee's tenure with the organization.
- Provide a description or reason for the termination, explaining the circumstances or factors leading to the decision.
- Click the create button to finalize the setup and record the termination in the system.
By following these steps, you can effectively manage and document employee terminations within the organization, ensuring accurate records and compliance with relevant policies and procedures.
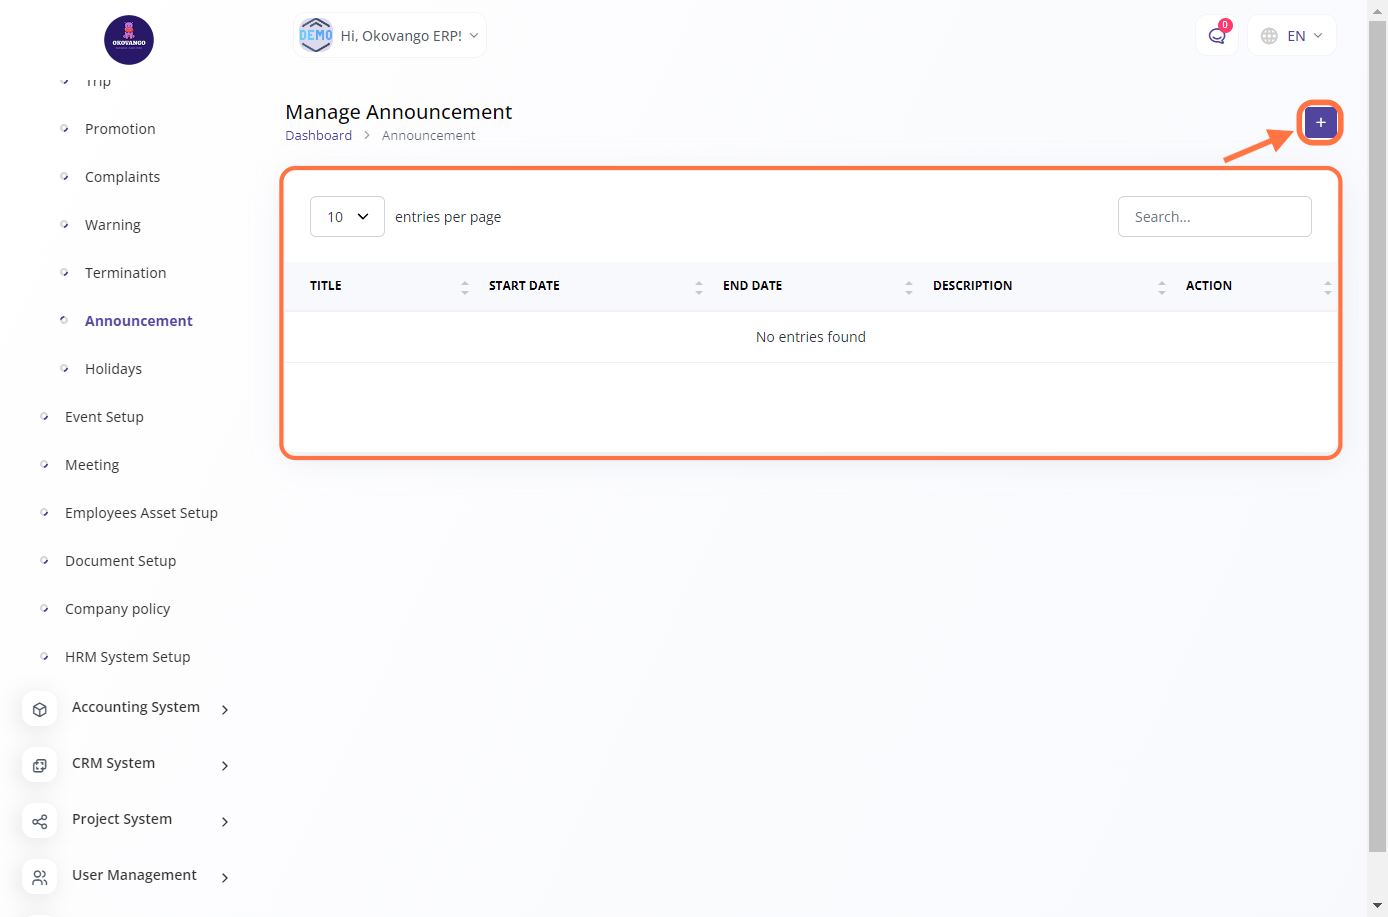
Announcement
In the announcement management section, you can create and manage announcements for the organization. This feature allows you to share important information, updates, or news with employees. You can create an announcement by providing a title, selecting the target audience or recipients, setting the announcement date, and adding the announcement content. This helps in effectively communicating with employees, ensuring they are informed about important events, policy changes, or other relevant information.

STEP 1: Click on "Create" Button
STEP 2: Create New Announcement
Once you click the create button, you can proceed to set up an announcement using the following steps:
- Enter the title of the announcement.
- Select the branch(es) for which the announcement is intended.
- Choose the department(s) to which the announcement is relevant.
- Specify the employee(s) who should receive the announcement.
- Set the start date for the announcement's validity period.
- Set the end date for the announcement's validity period, if applicable.
- Provide a description or message for the announcement.
- Click the create button to finalize the setup and publish the announcement.
By following these steps, you can effectively create and distribute announcements, ensuring that the right information reaches the intended audience within the organization. This helps in keeping employees informed, promoting transparency, and facilitating effective communication.
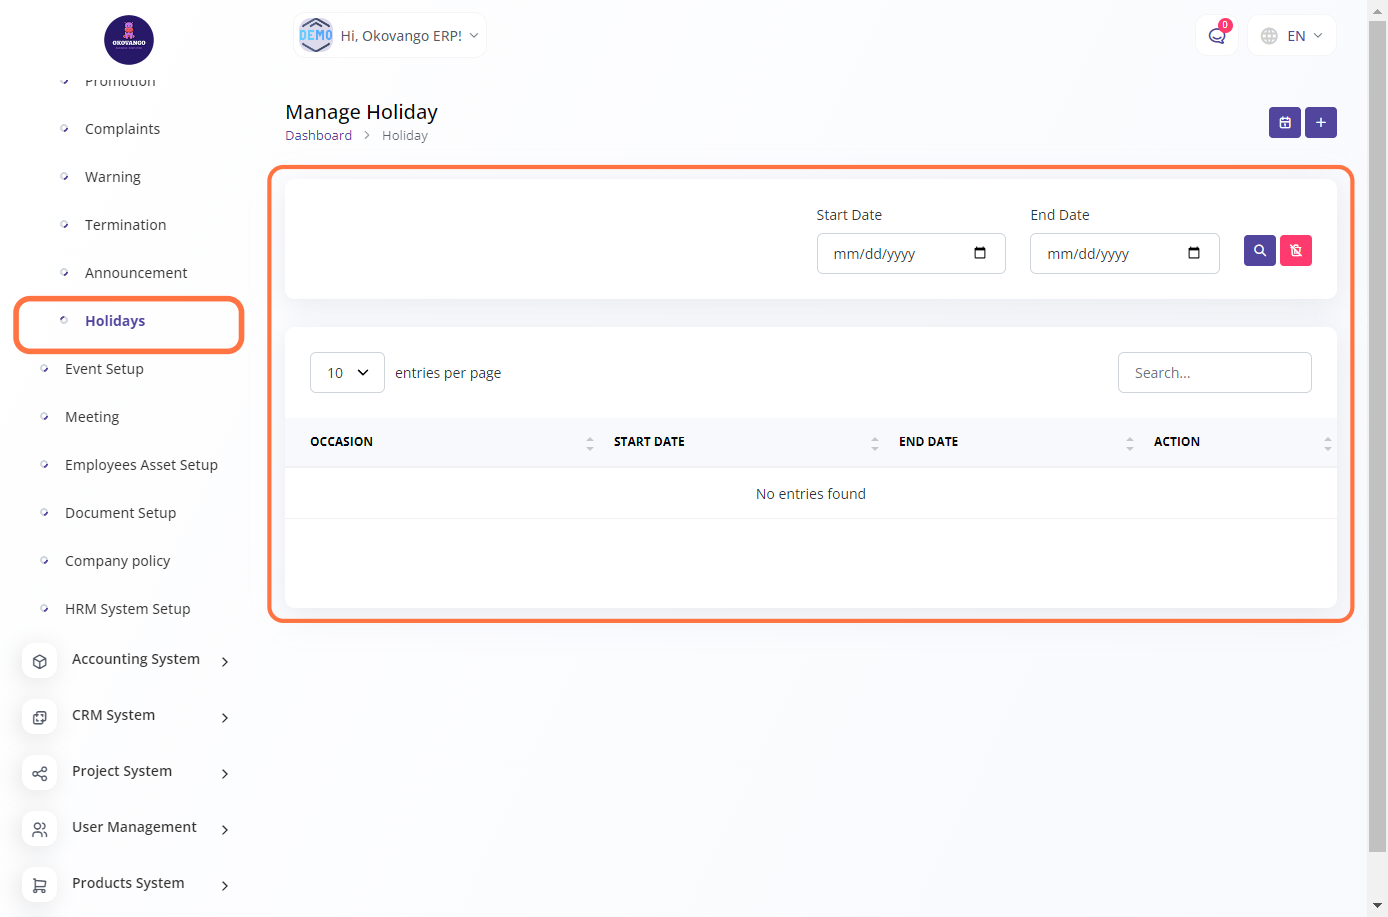
Holidays
In the holidays management section, you can create and manage holidays for your organization. This feature allows you to define the dates on which the organization will be closed or employees will have time off. You can enter the holiday name, specify the holiday date, and provide any additional details or notes related to the holiday. This helps in scheduling and planning, ensuring that employees are aware of upcoming holidays and can plan their time accordingly.
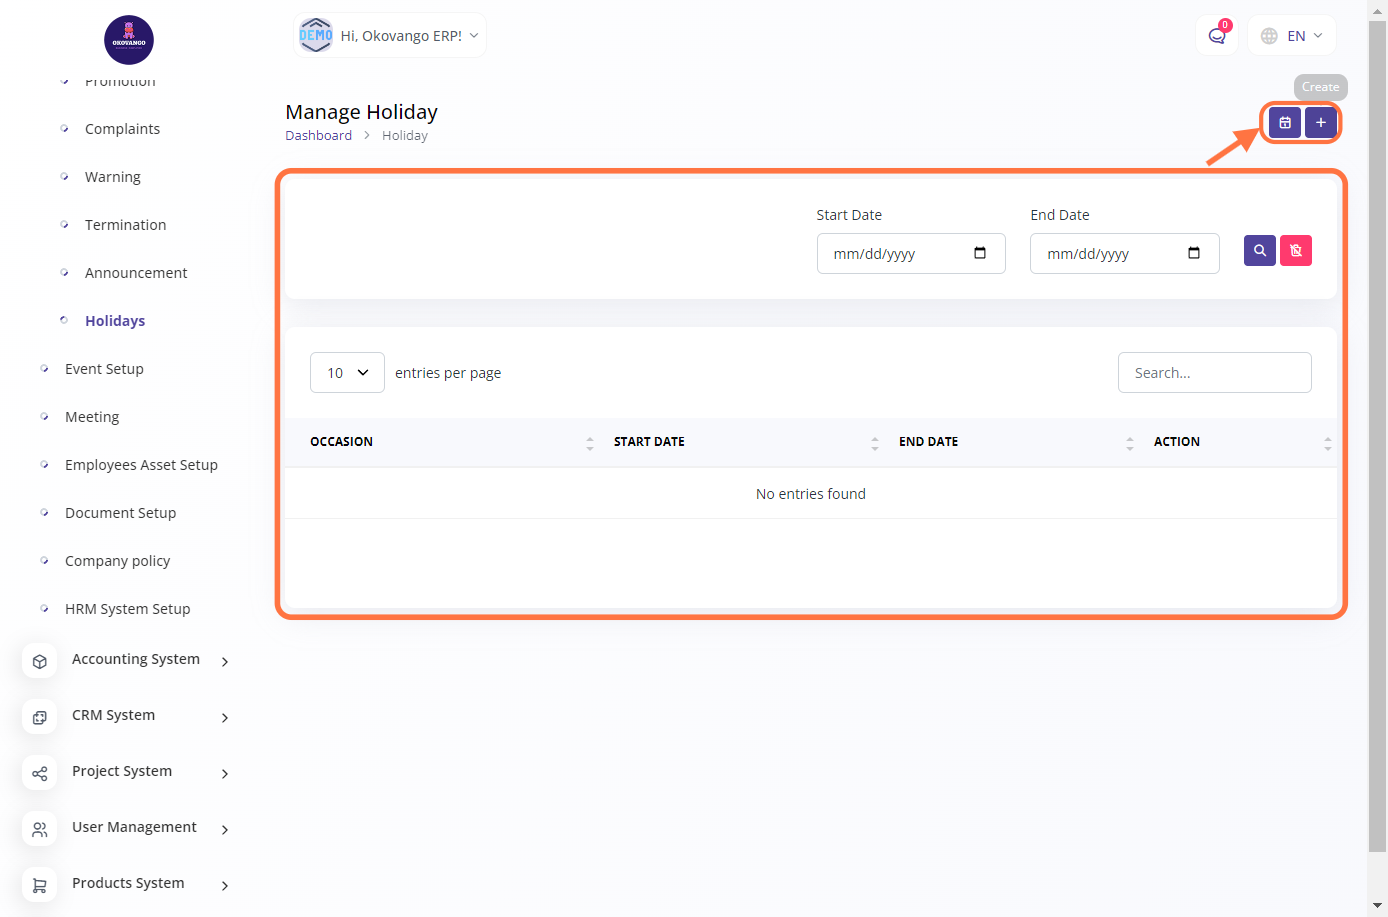
STEP 1: Click on "Create" Button
STEP 2: Create New Holiday
Once you click the create button, you can proceed to set up a holiday using the following steps:
- Enter the title or occasion for the holiday.
- Specify the start date of the holiday.
- Specify the end date of the holiday, if applicable.
- Optionally, enable or disable the synchronization with Google Calendar.
- Click the create button to finalize the setup.
By following these steps, you can effectively create a holiday in the system, providing the necessary information such as the occasion and dates. Enabling Google Calendar synchronization can help ensure that the holiday is reflected in employees' personal calendars. This allows for better planning and coordination within the organization.


