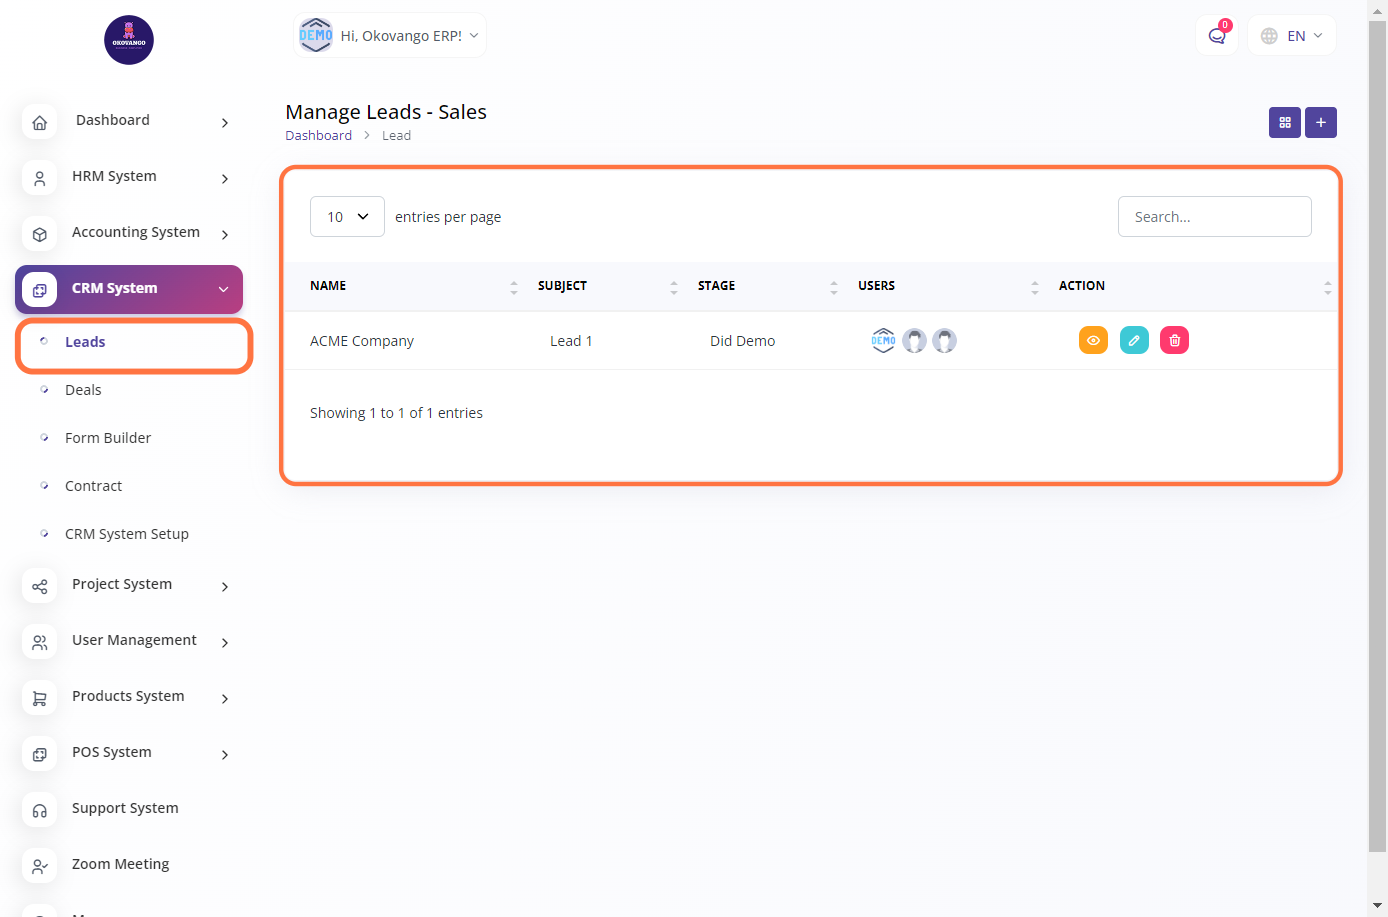
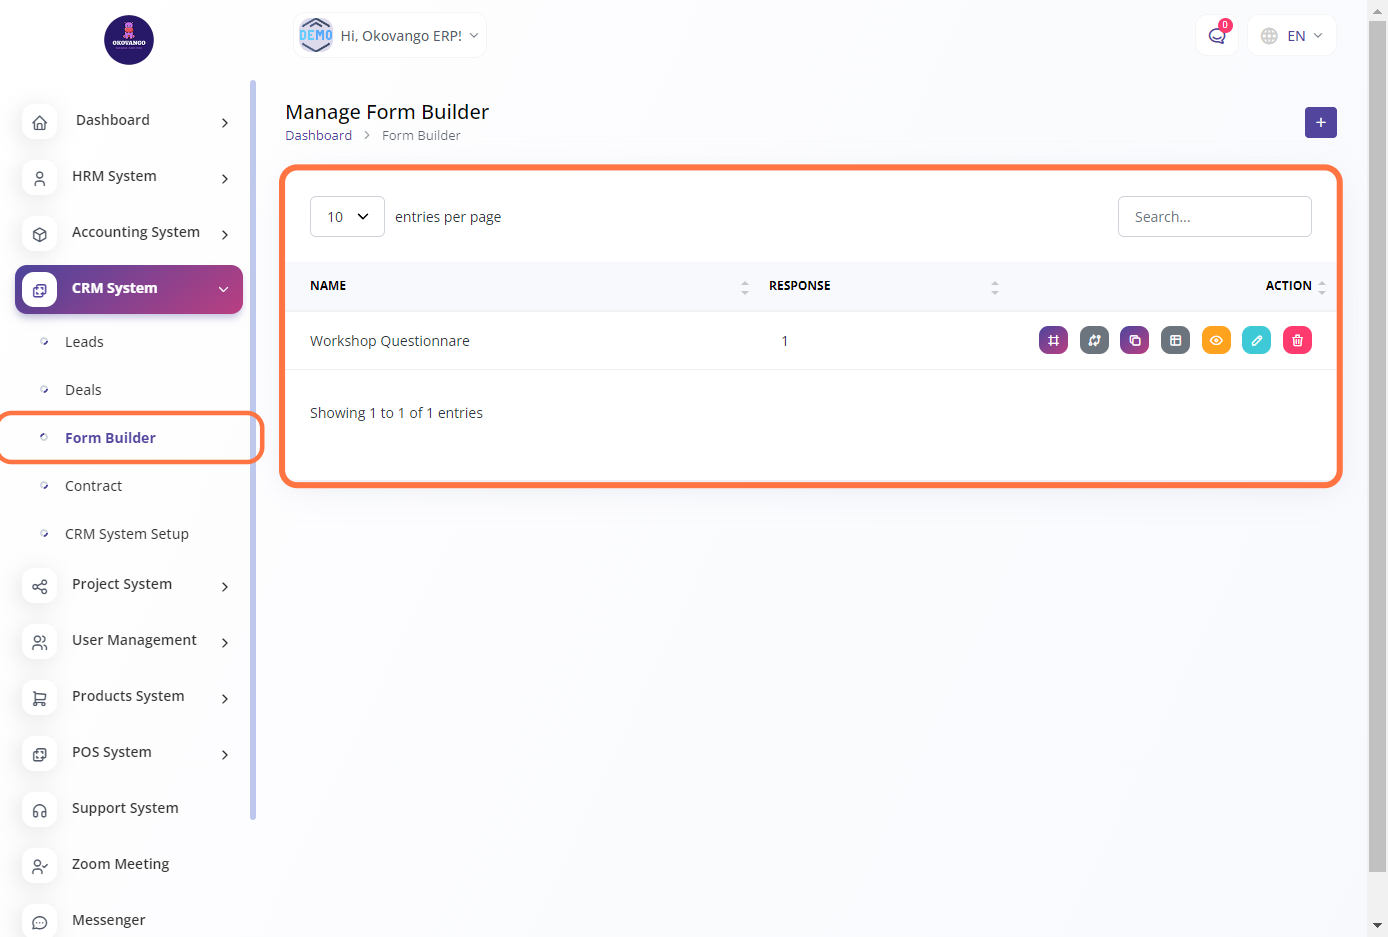
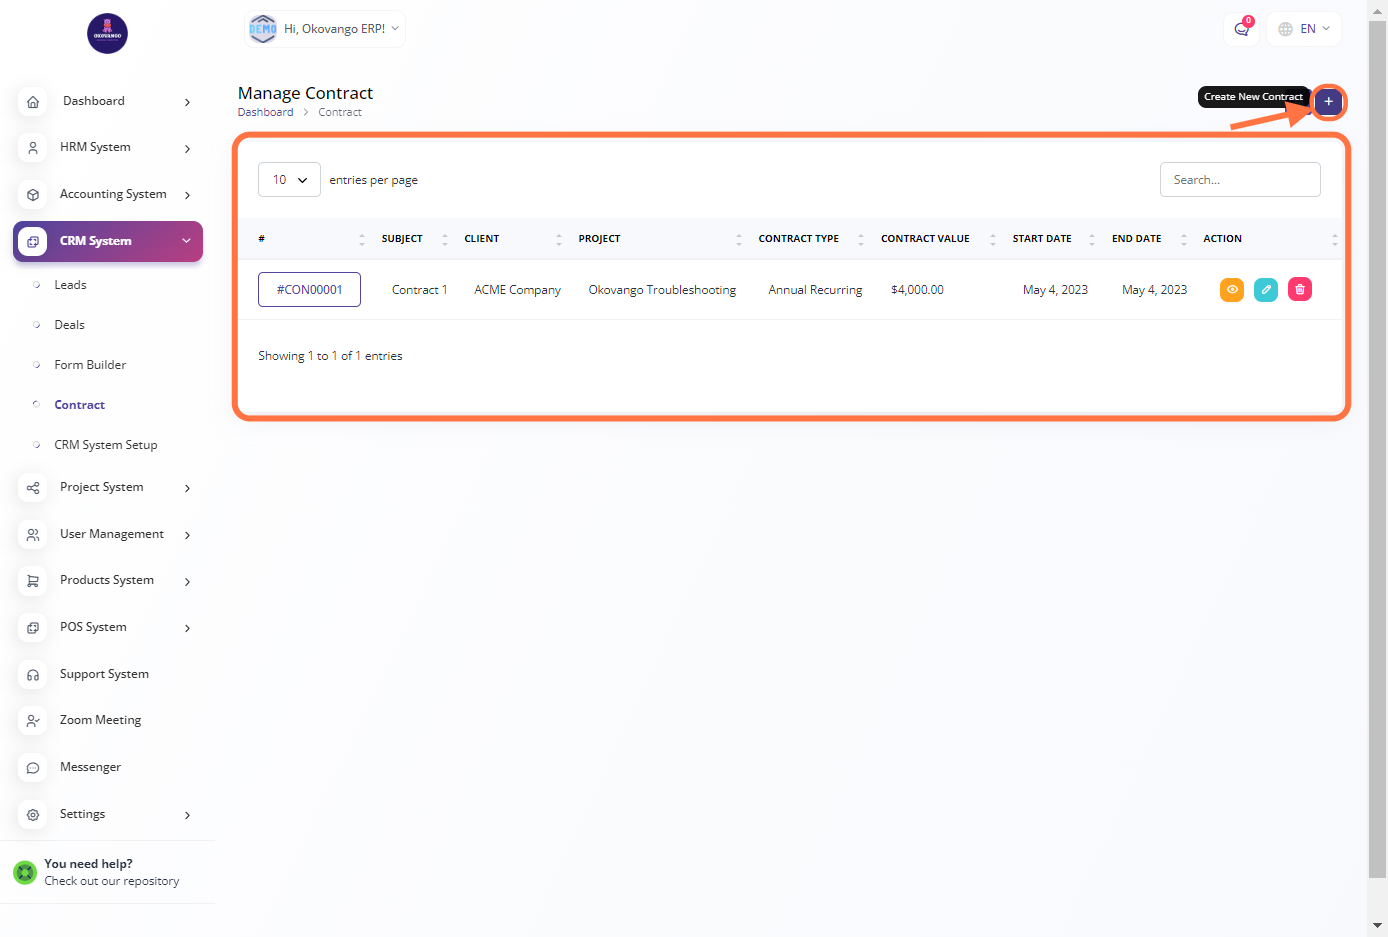
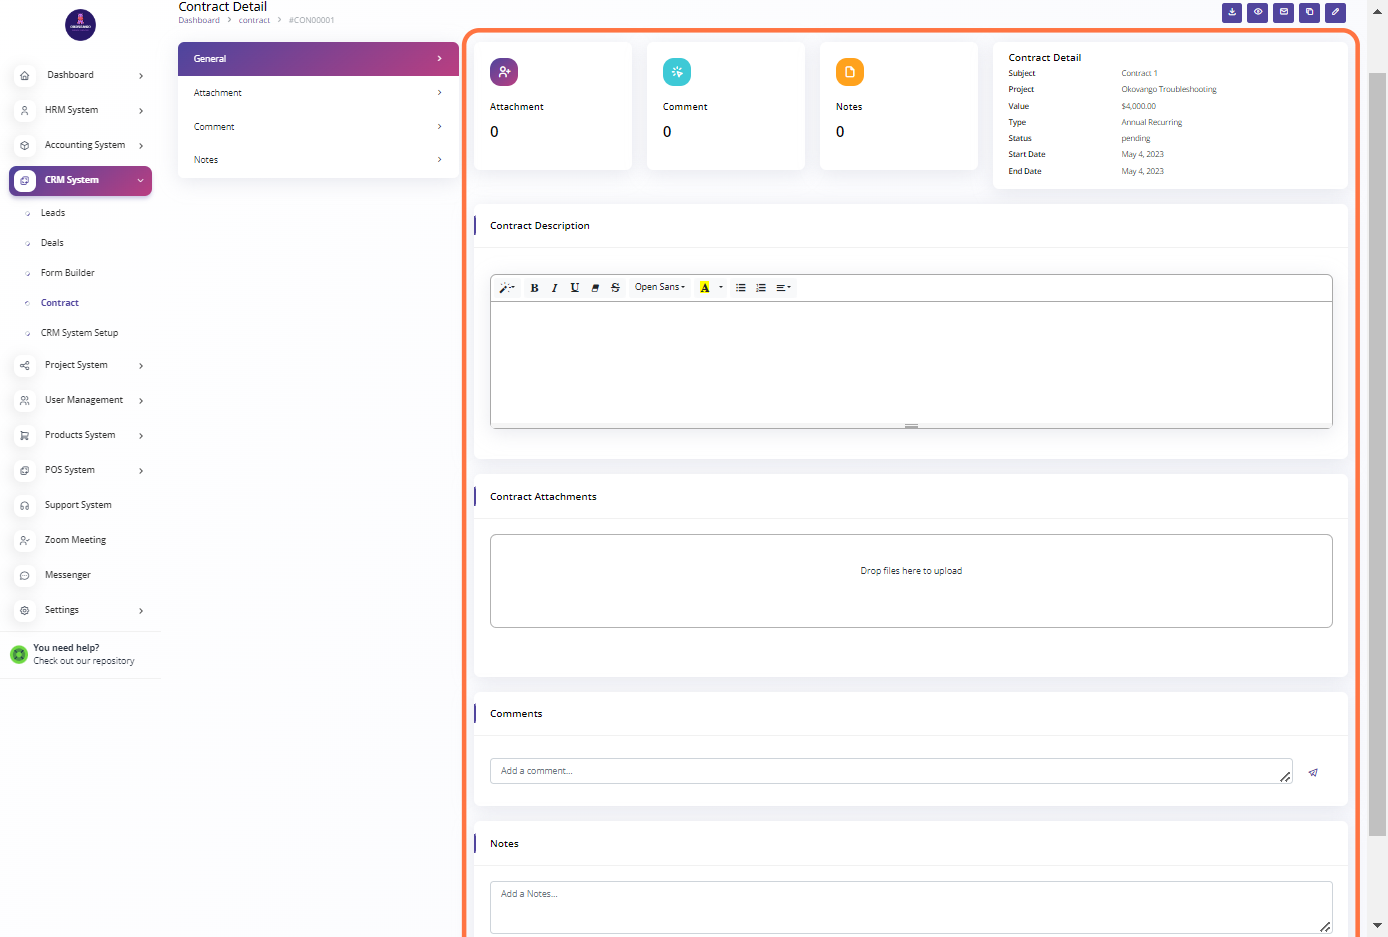
Setting up Deals
You can create and manage deals or opportunities related to your customer relationships. Deals represent potential sales or business opportunities that your organization is pursuing. This feature allows you to track and monitor the progress of each deal, including its status, value, associated contacts, and other relevant information. By creating deals in the CRM system, you can have a centralized view of all ongoing sales opportunities, allowing you to prioritize and manage them effectively. It also enables you to generate reports and insights on the performance and conversion rates of your deals, aiding in sales forecasting and decision-making.

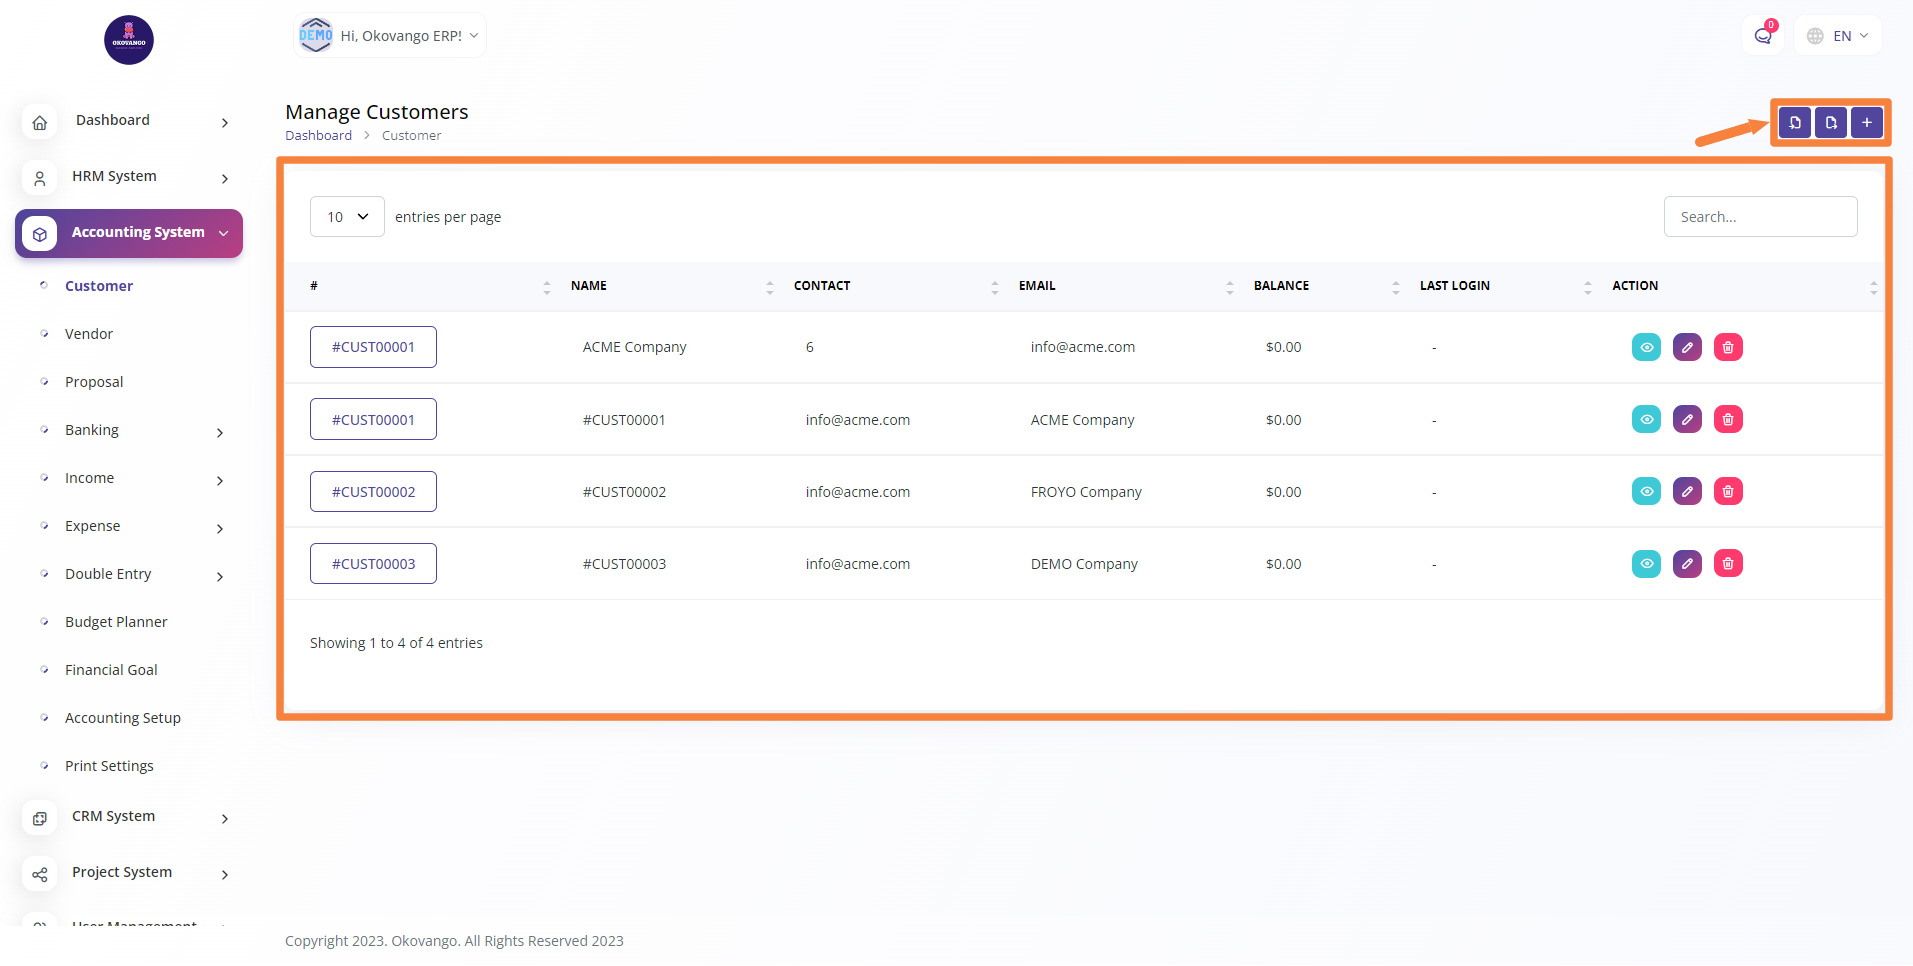
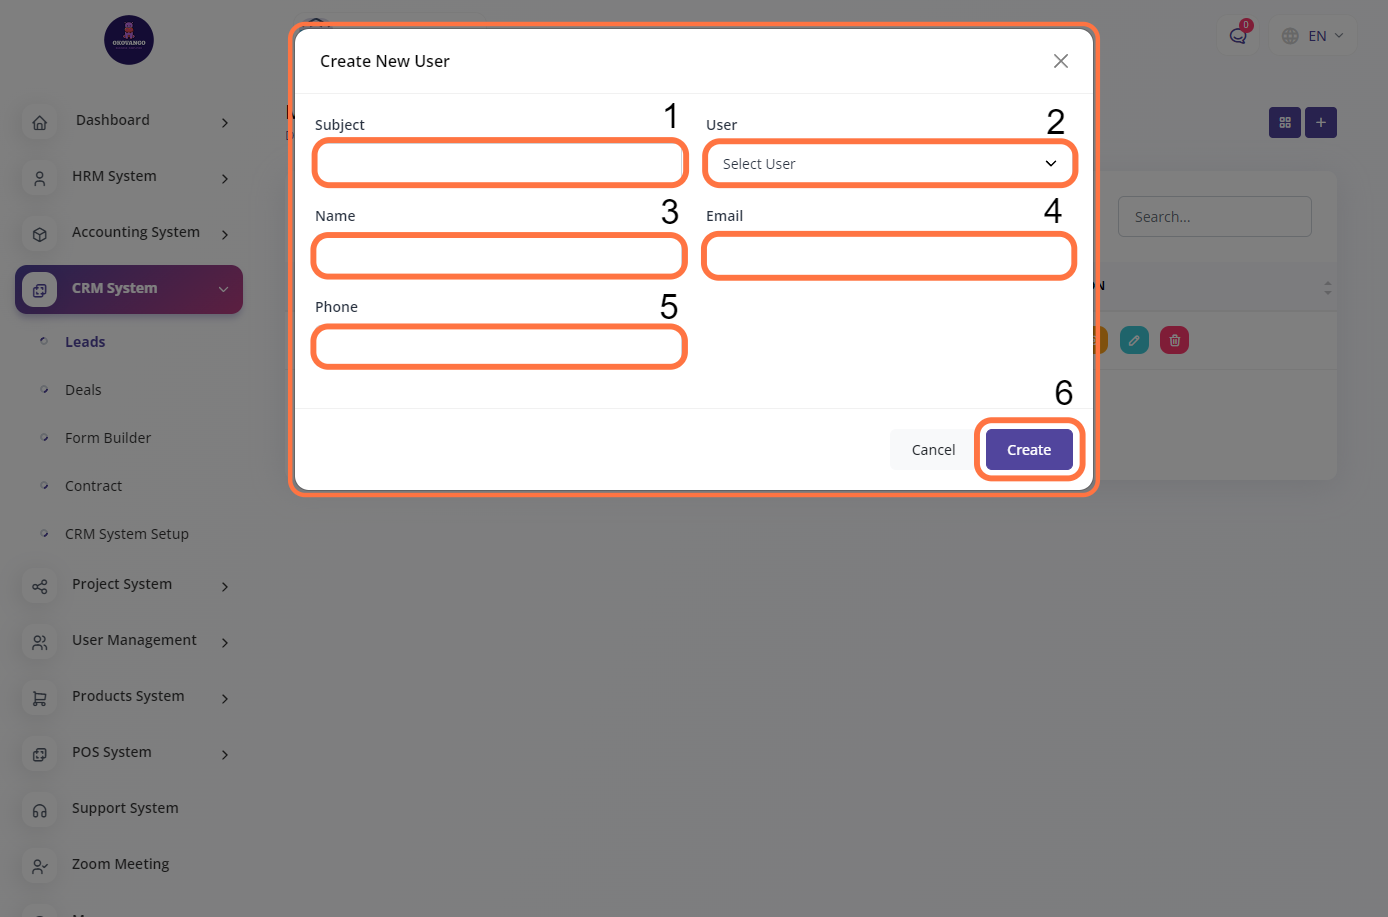
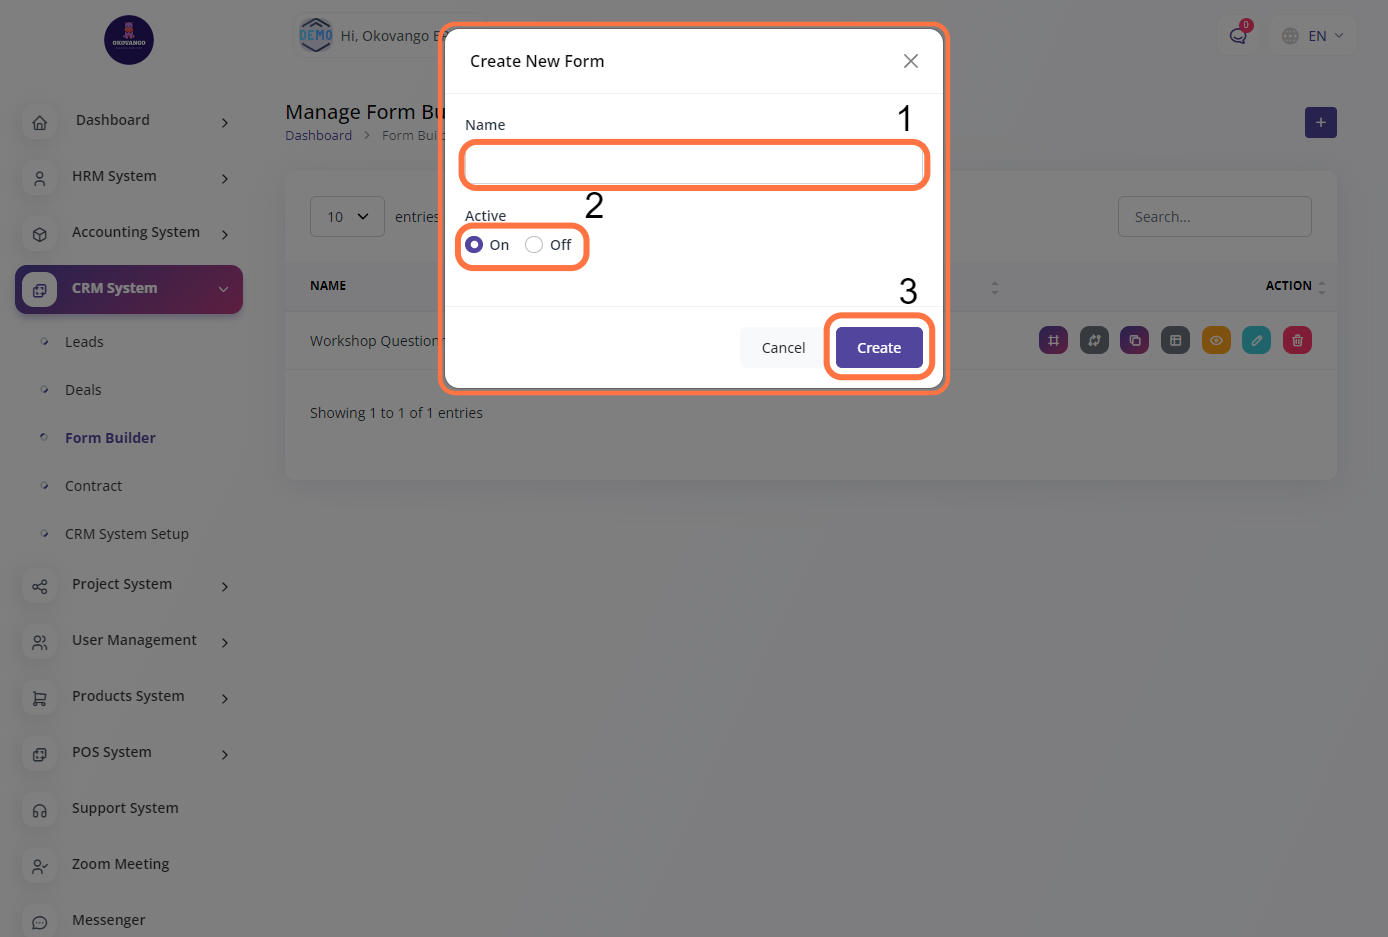
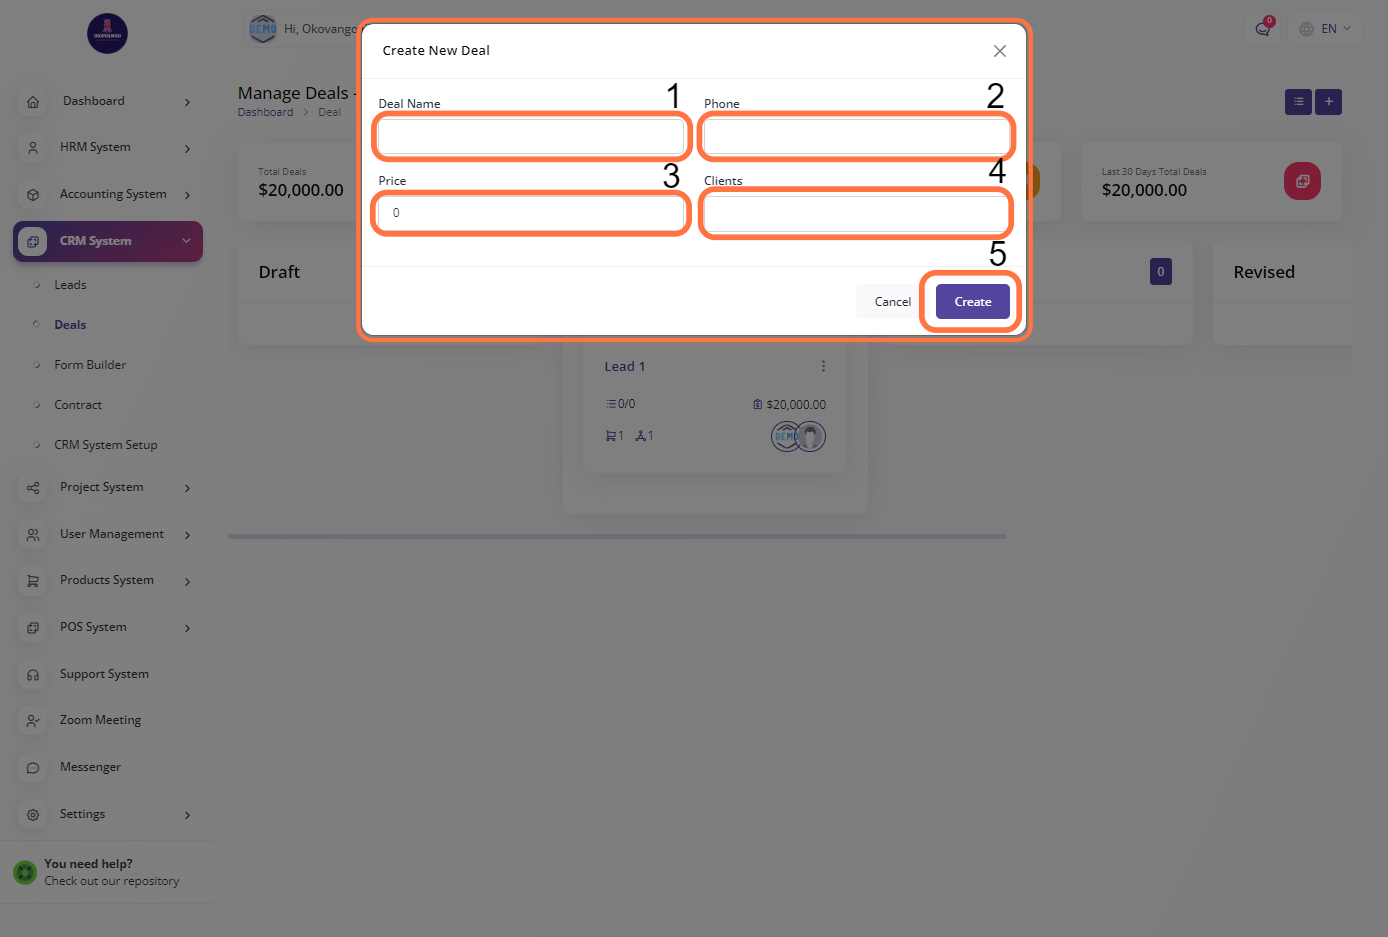
STEP 1: Click on "Create" Button

STEP 2: Create New deals
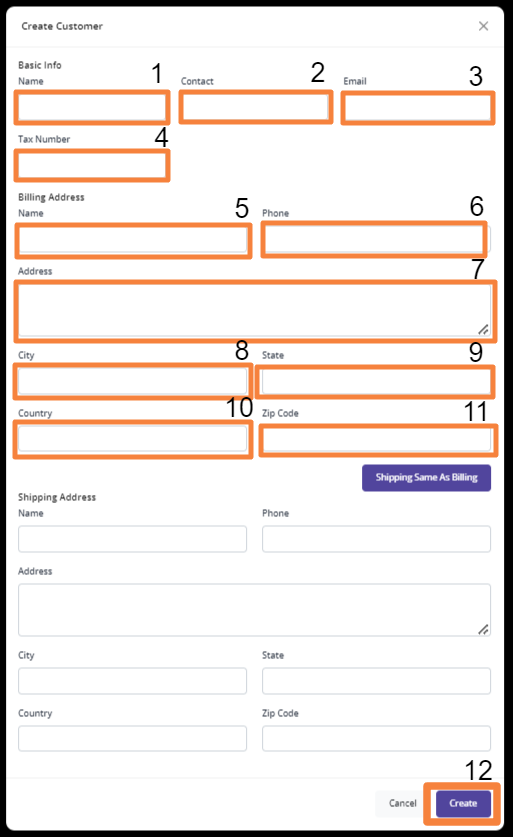
Once you click the create button, you can proceed to set up a deal using the following steps:
- Enter the deal name: Provide a descriptive name for the deal to easily identify it.
- Enter the phone number: Specify the contact phone number associated with the deal, if applicable.
- Enter the price: Indicate the price or monetary value associated with the deal.
- Select clients: Choose the clients or customers associated with the deal. This can be individuals or organizations involved in the potential sale or business opportunity.
- Click the create button: Finalize the creation of the deal by clicking the create button.
By following these steps, you can successfully set up a new deal in the CRM system, capturing important details and progress related to the potential sale or business opportunity.
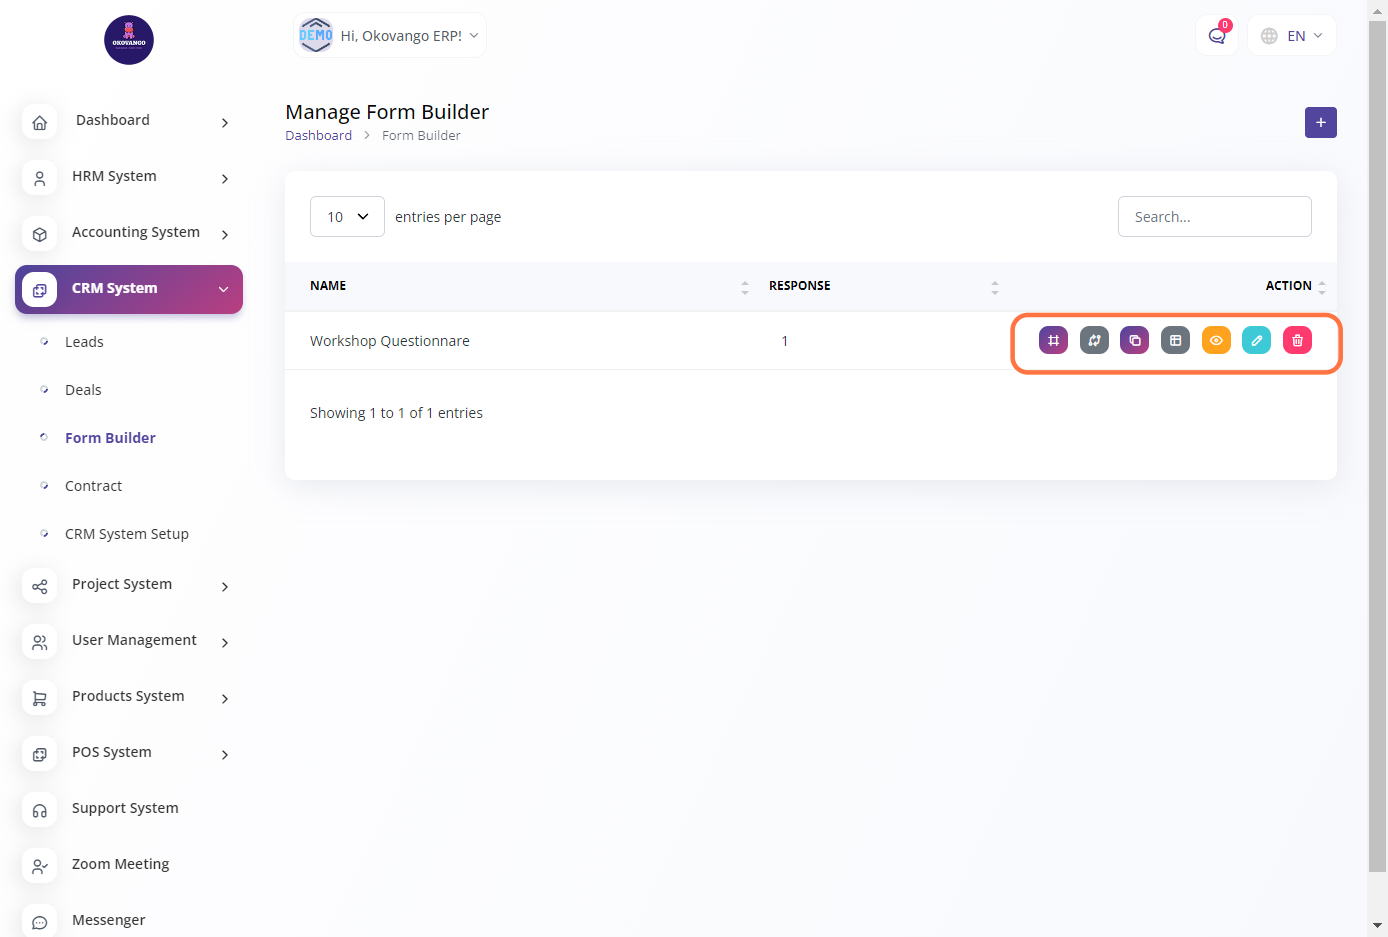
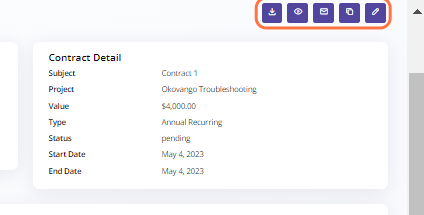
STEP 3: "View, Edit or Delete" Button
You have the option to view, edit, and delete the created deals. This allows you to review the details of the deals, make any necessary updates or modifications, and remove deals that are no longer relevant. The view option enables you to see the information associated with a specific deal, while the edit option allows you to make changes to the deal's details. Lastly, the delete option allows you to remove a deal from the system if needed.
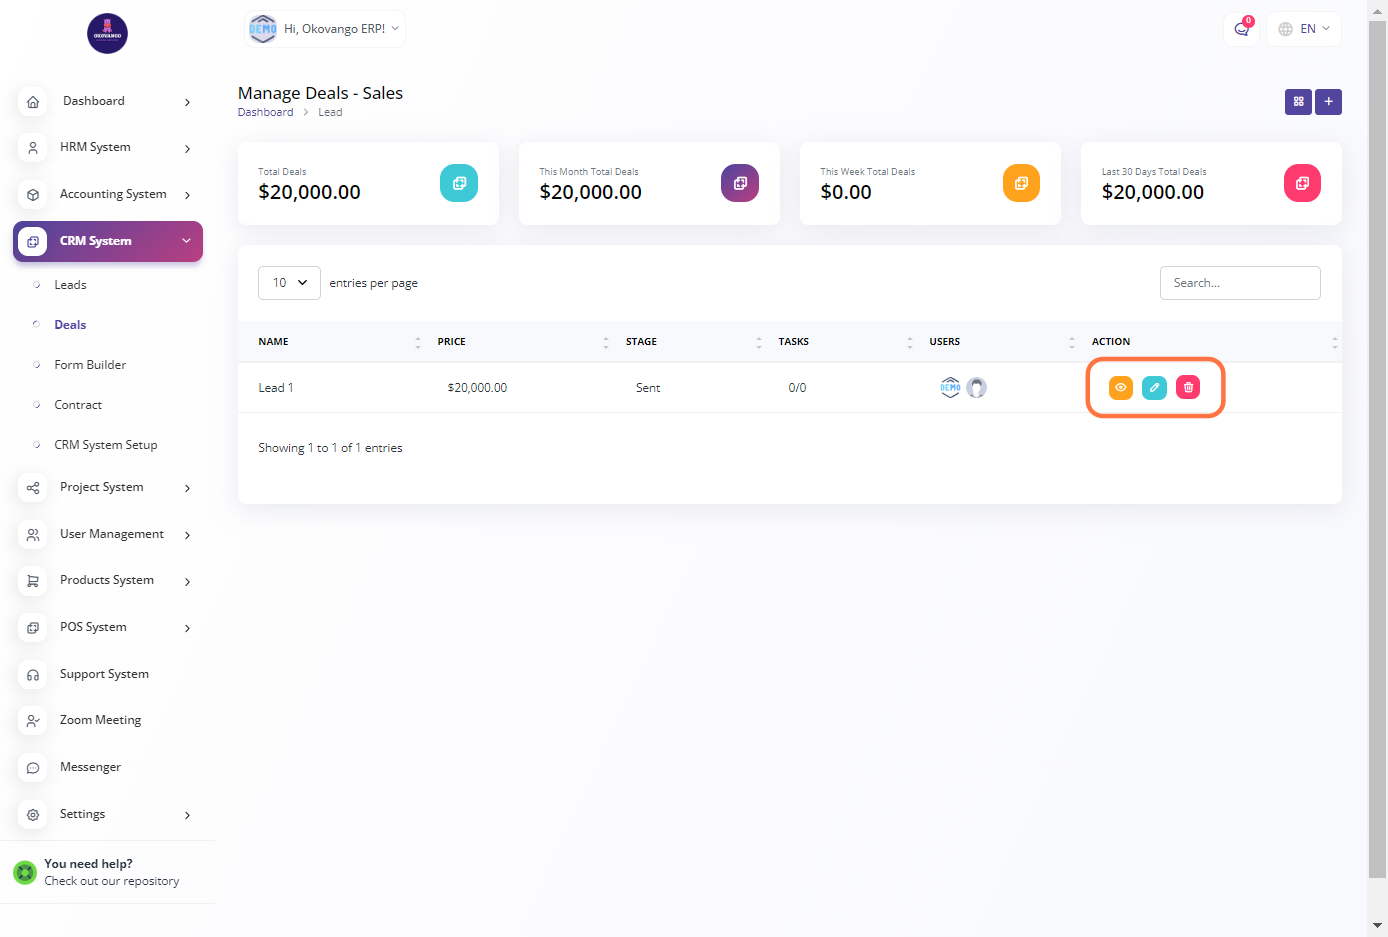
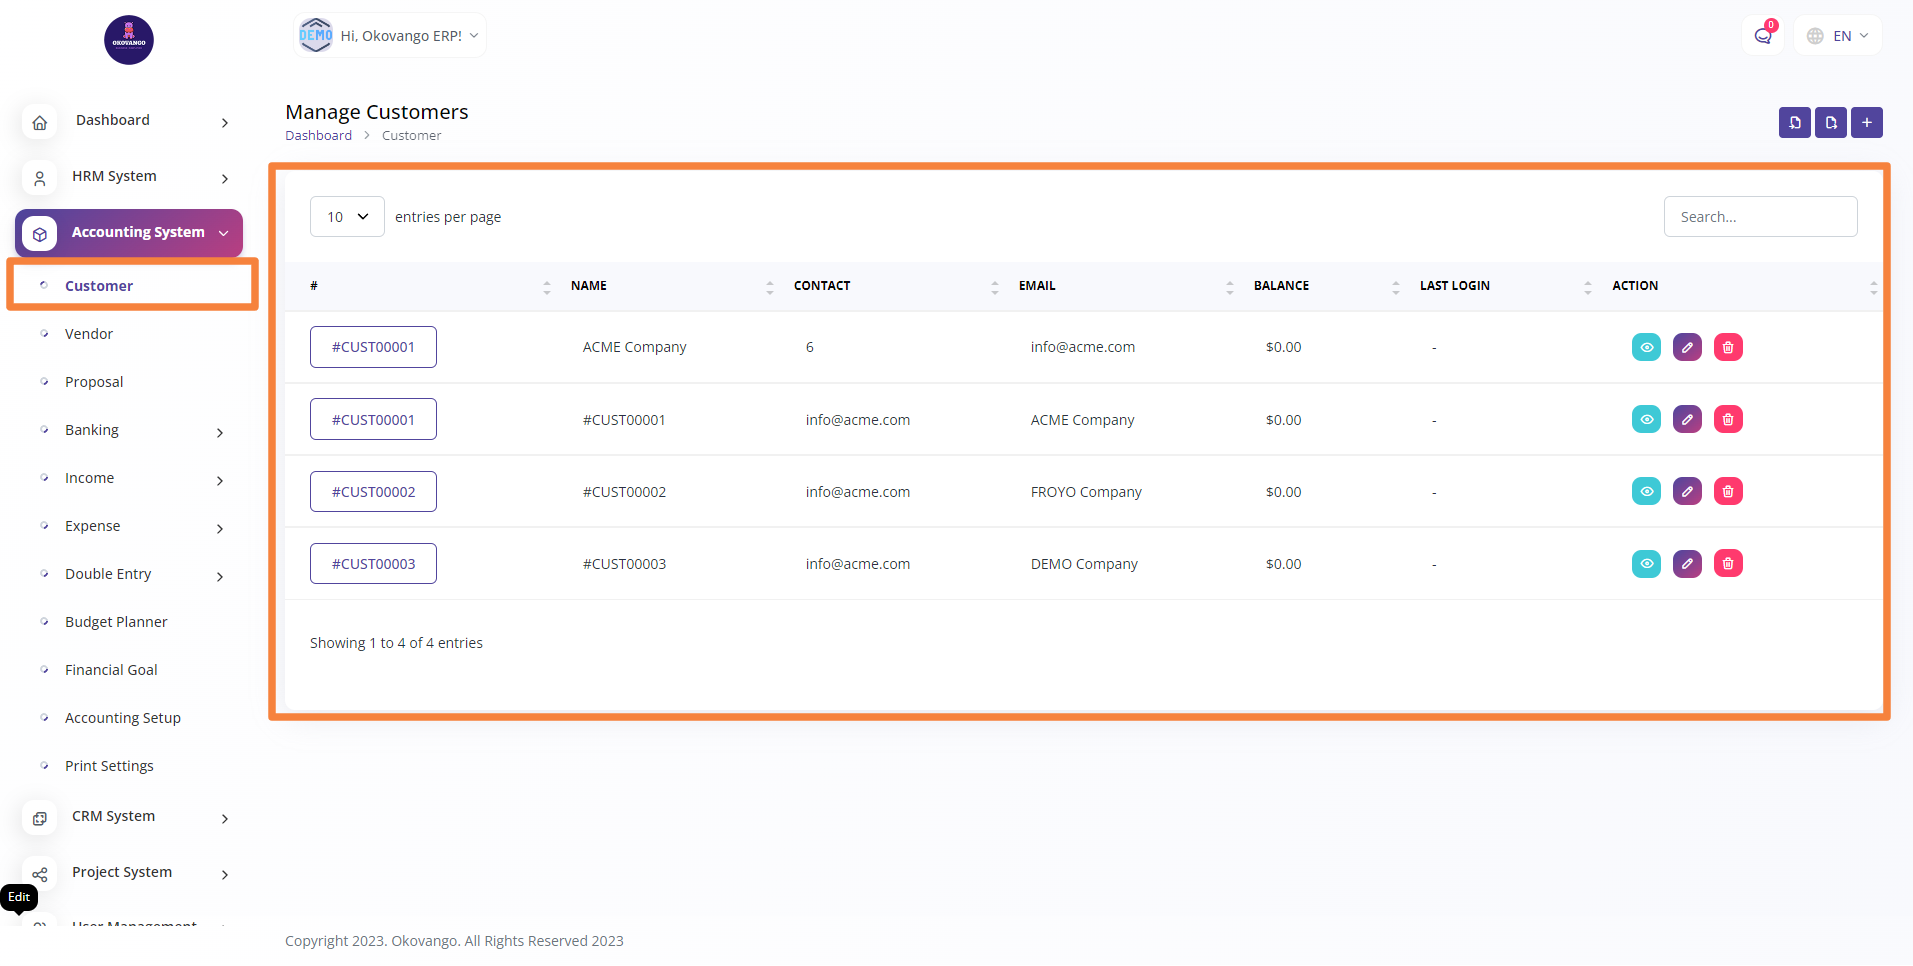
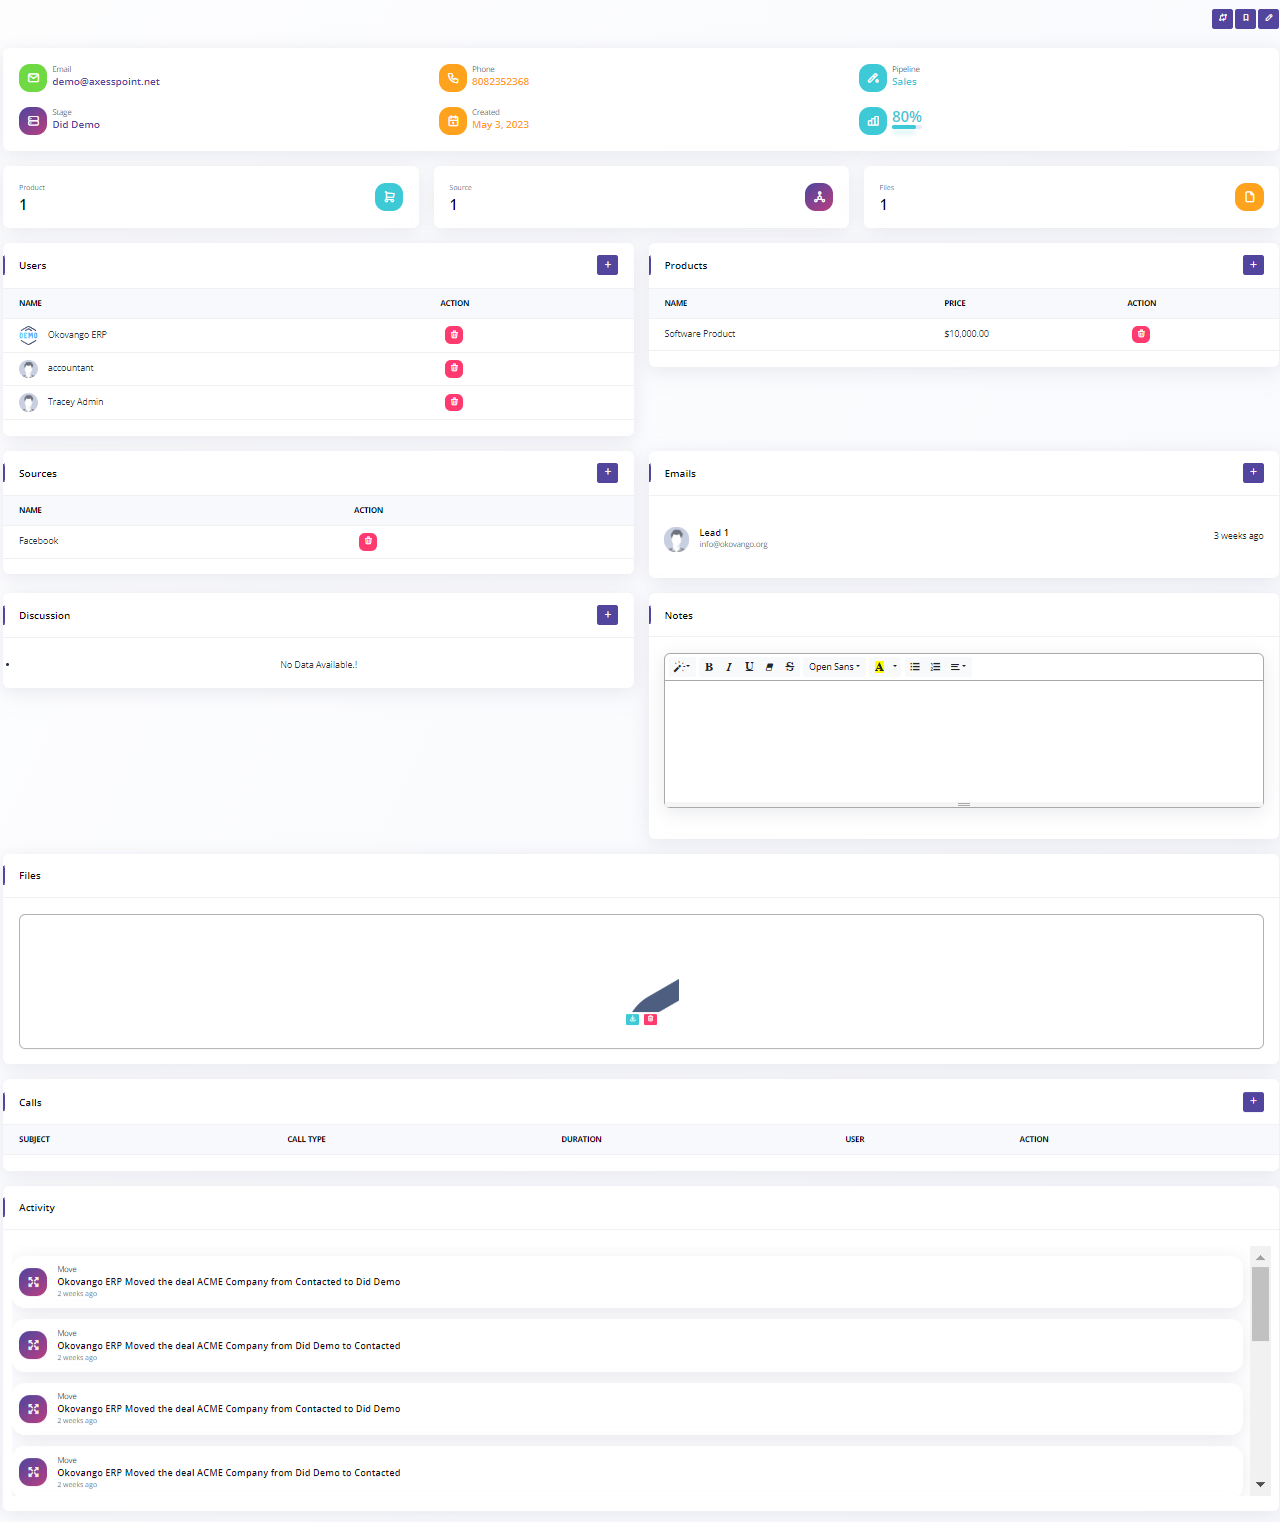
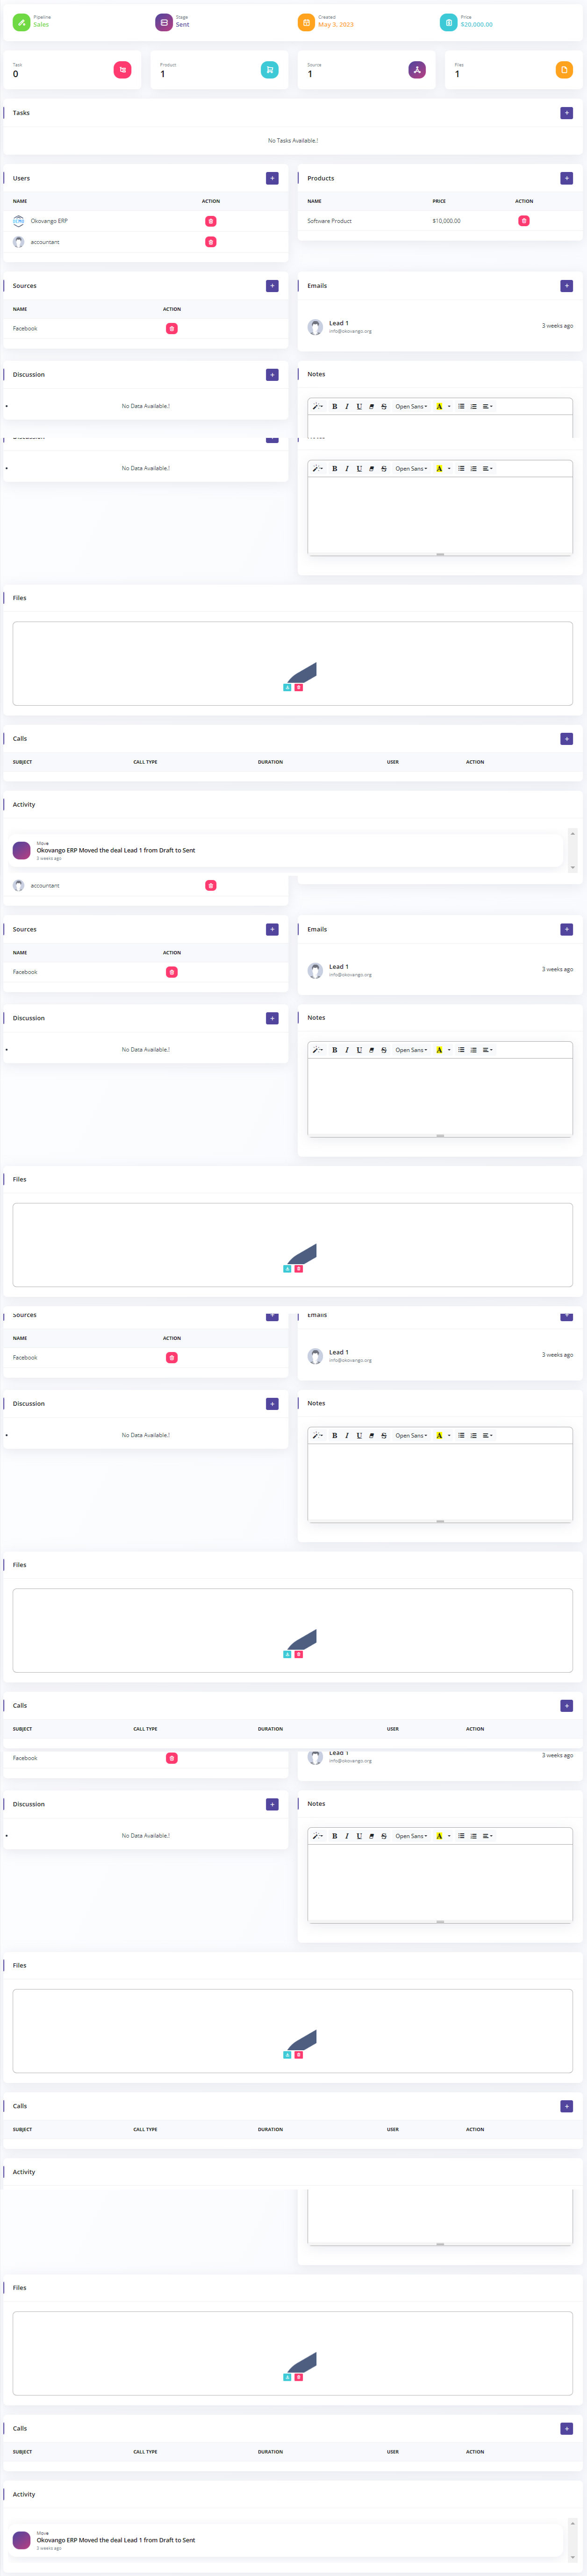
View deals
You can view the details of the deals and make various edits related to tasks, products, sources, discussions, files, calls, and activities. It provides a comprehensive overview of the deal and allows you to manage different aspects of it. This helps you keep track of the progress and actions associated with each deal, facilitating effective deal management and collaboration within your organization.
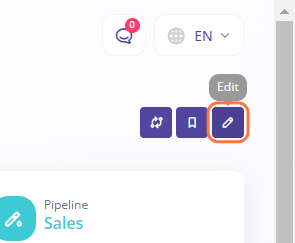
Click on "Edit" Button
Edit New Deal
To edit a deal, follow these steps:
- Update the deal name to reflect any changes.
- Modify the phone number associated with the deal, if necessary.
- Adjust the price of the deal, taking into account any updates or negotiations.
- Choose the appropriate pipeline for the deal's current status or stage in the sales process.
- Select the stage of the deal within the chosen pipeline.
- Update the sources that contributed to acquiring or generating the deal.
- Specify the products or services associated with the deal.
- Add any relevant notes or additional information regarding the deal.
- Click the "Update" button to save the changes and apply the updated details to the deal.
By following these steps, you can effectively edit and update the various aspects of a deal in your CRM system.
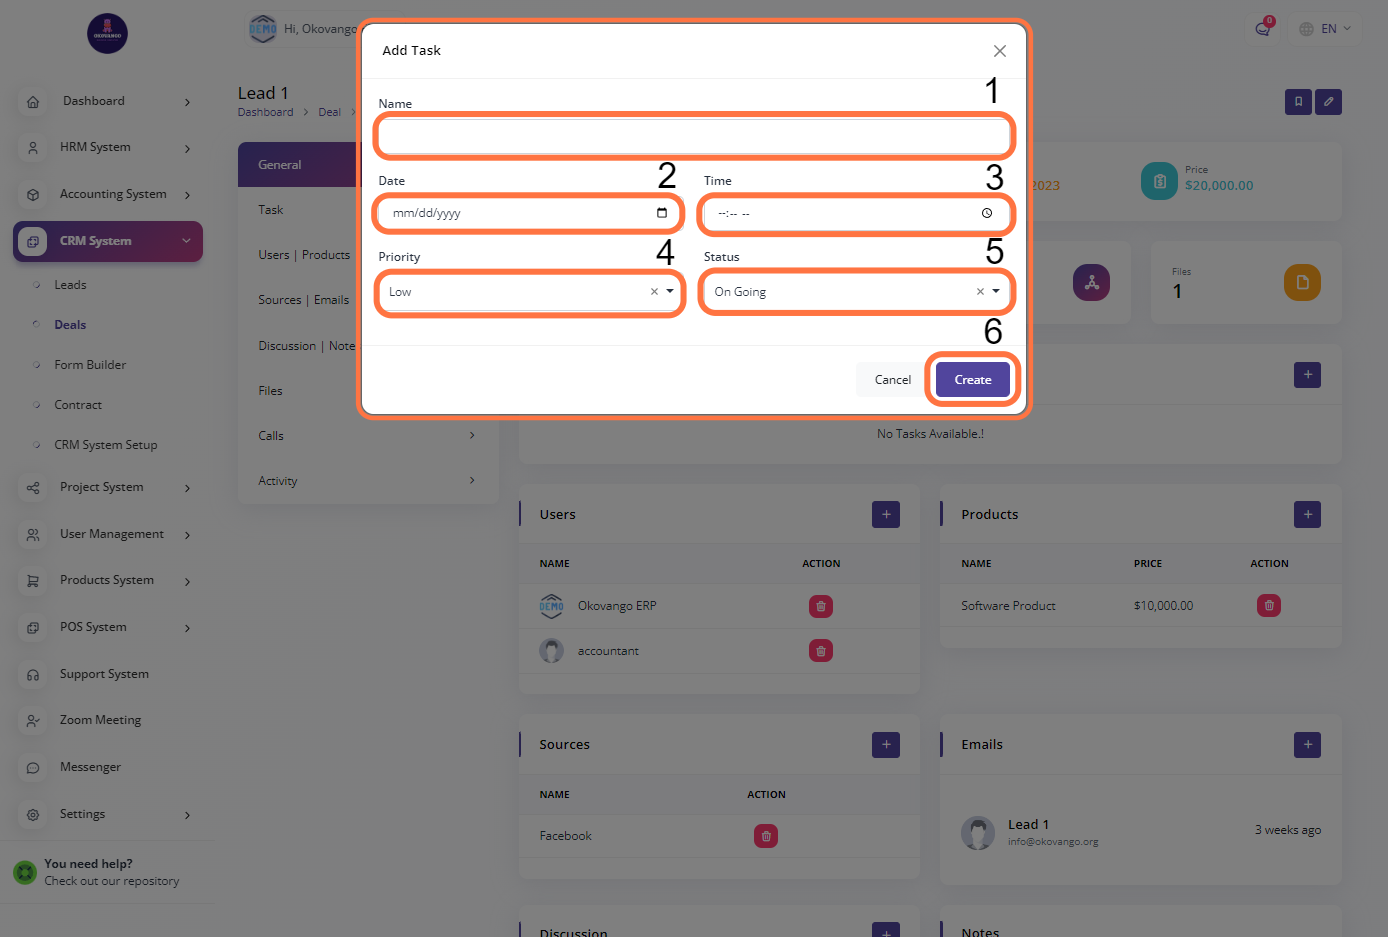
Task

To add a task in the CRM system, you can follow these steps:
- Enter the name of the task.
- Specify the date and time for the task.
- Set the priority level.
- Choose the status of the task (e.g., on going, completed).
- Click the "Create" or "Save" button to add the task to the system.
Adding tasks helps you track and manage your activities related to deals, ensuring important tasks are completed on time and with the appropriate level of priority.
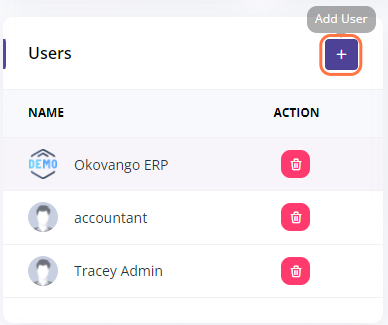
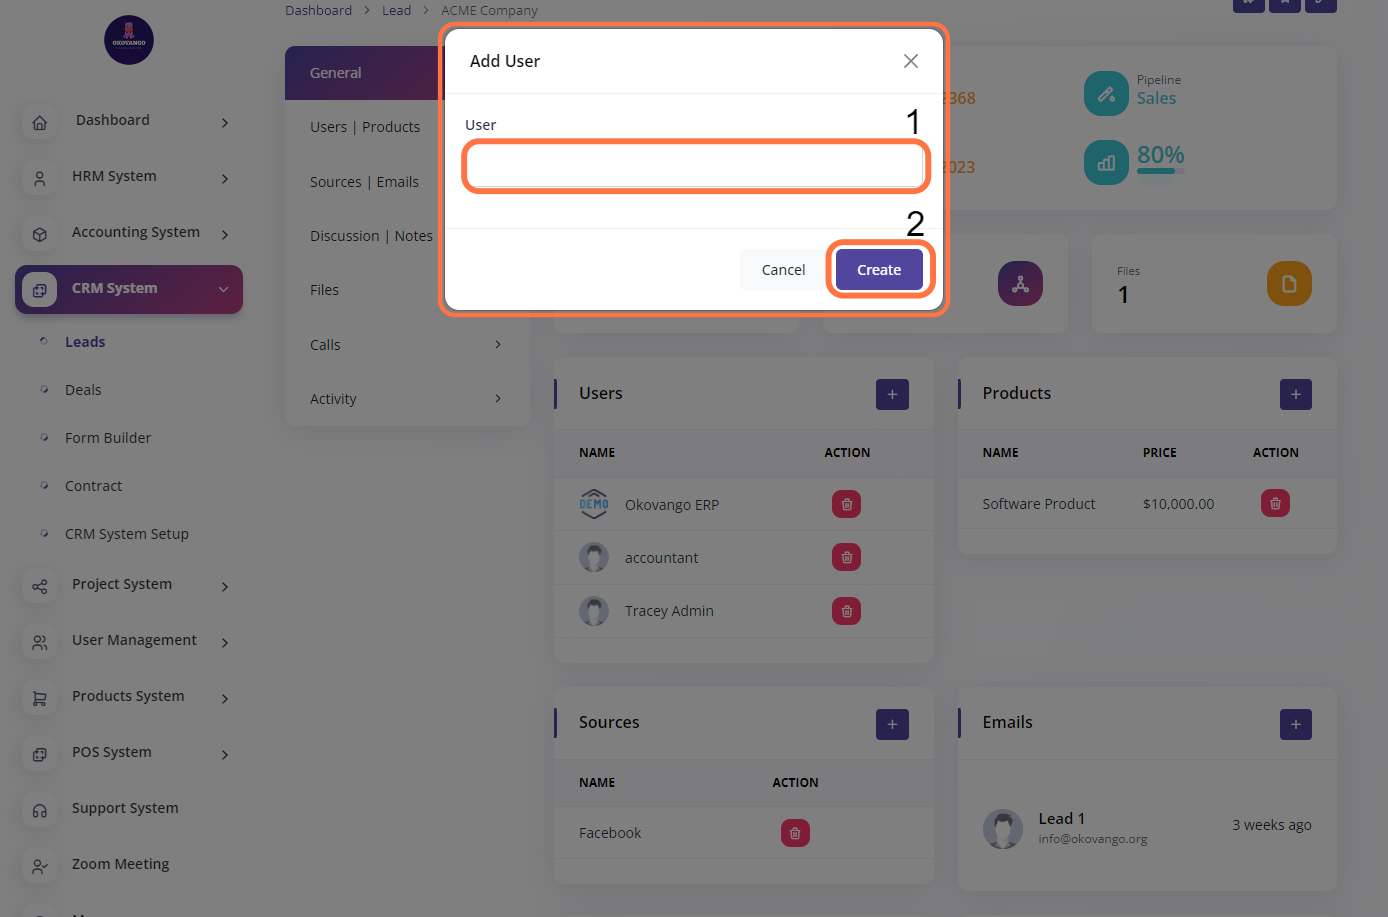
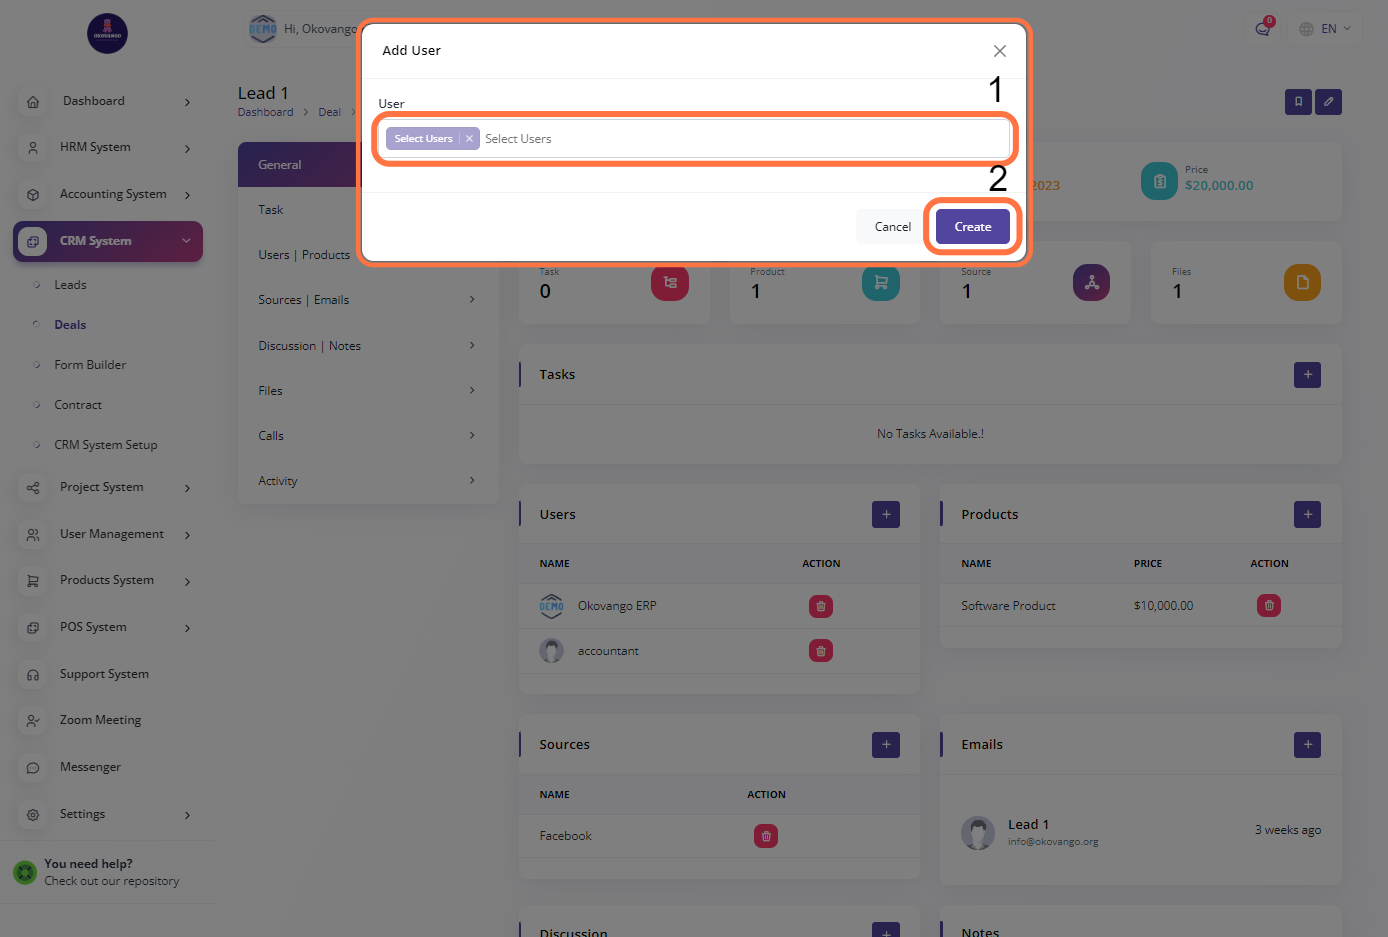
User

To add a user in the CRM system, you can follow these steps:
- Select the user from the available options or search for a specific user.
- Click the "Create" or "Add" button to add the selected user to the system.
Adding users allows you to assign and manage responsibilities within the CRM system, enabling collaboration and efficient handling of tasks and deals among team members.
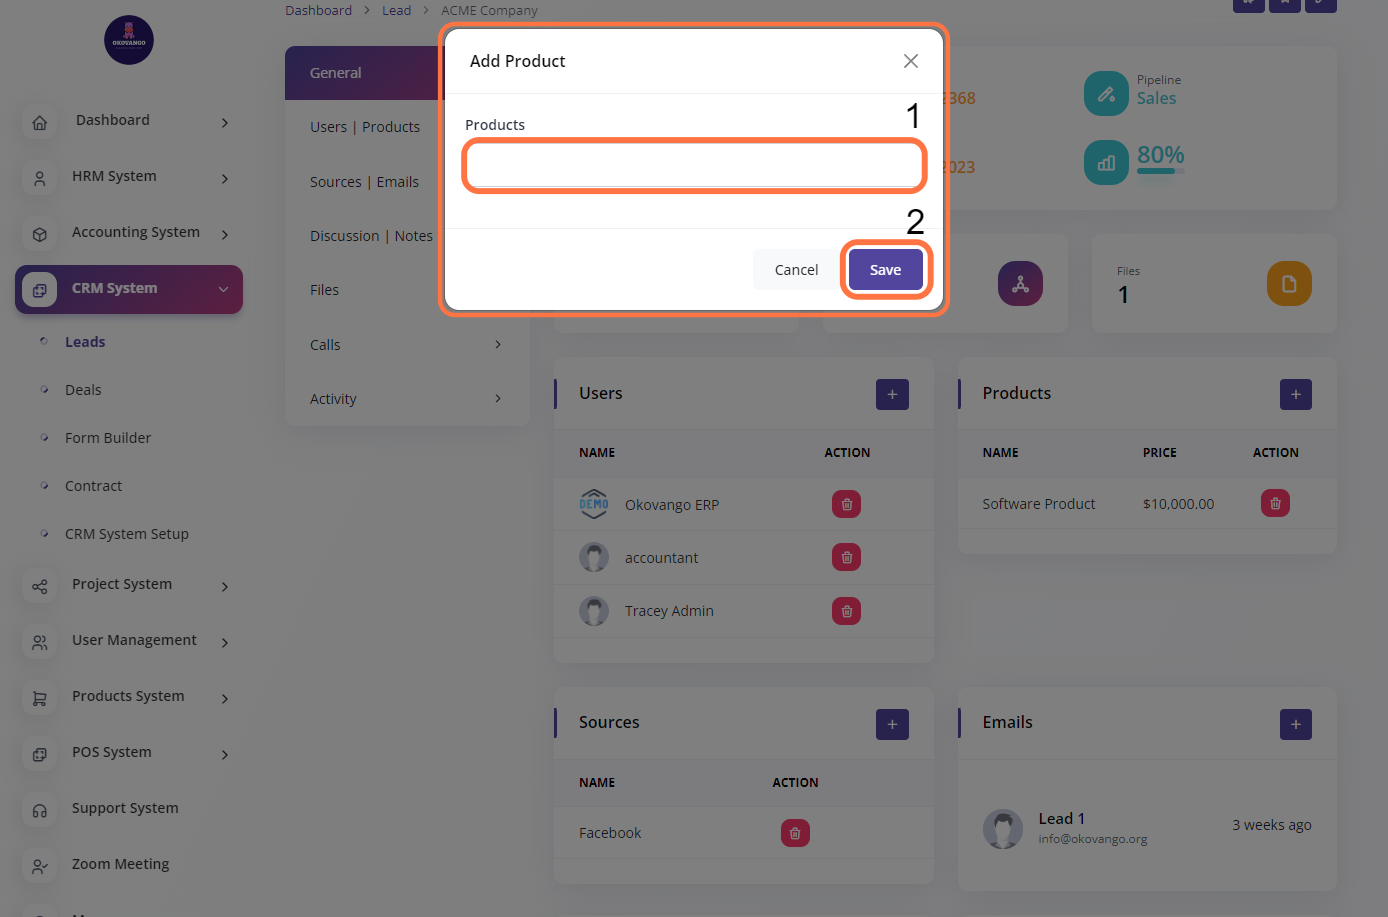
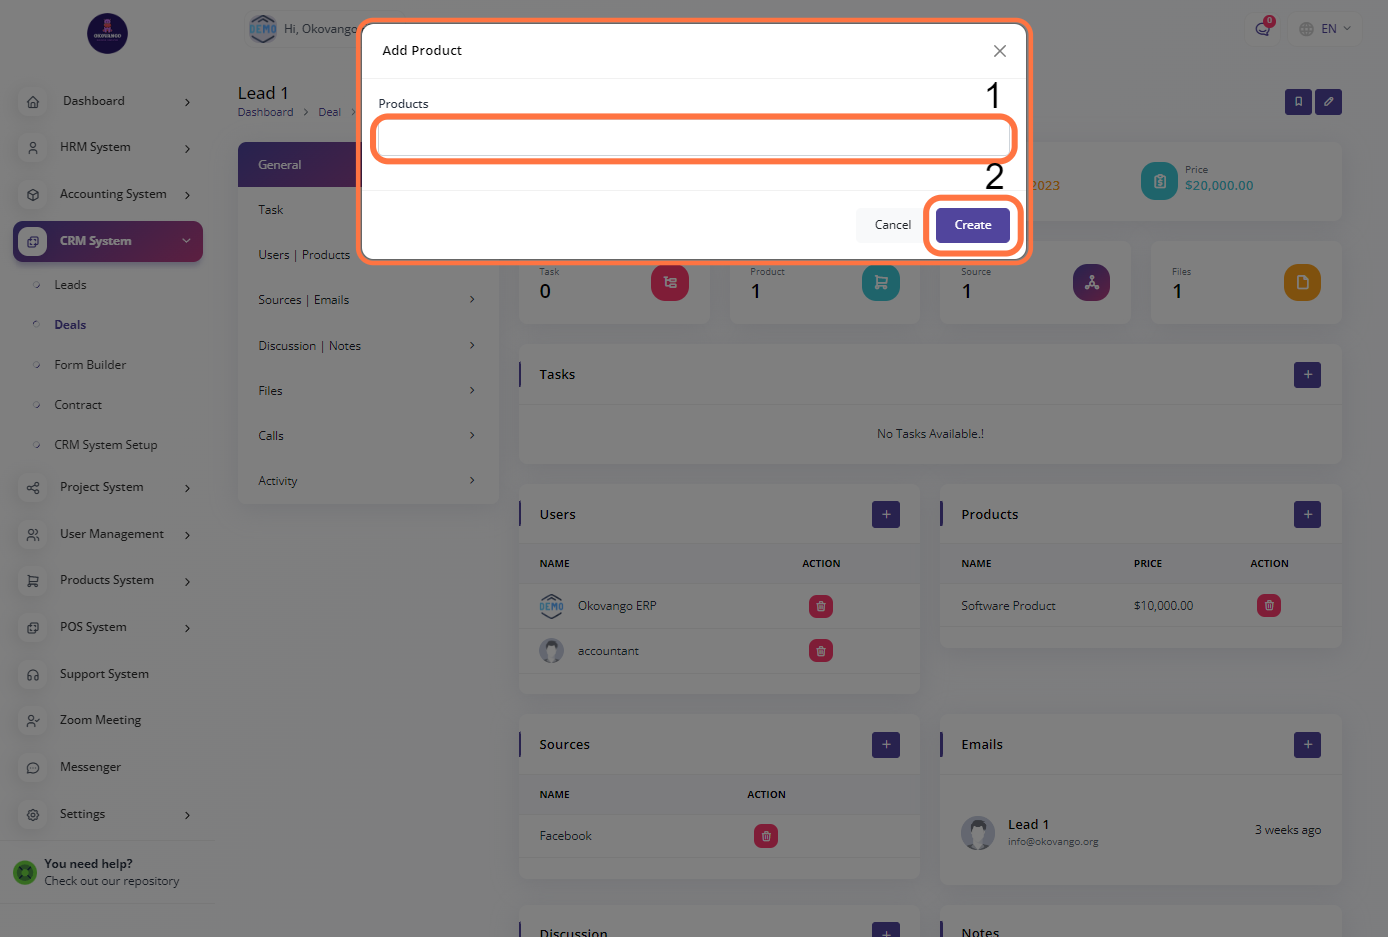
Product
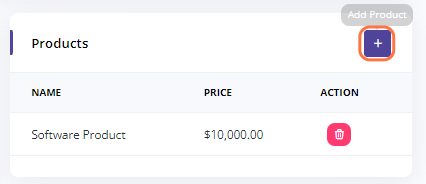
To add a product in the CRM system, you can follow these steps:
- Enter the details of the product
- Click the "Create" button to add the product to the system.
Adding products in the CRM system allows you to associate them with deals, track sales, and manage inventory. It helps in organizing and managing your product catalog for effective sales and customer relationship management.
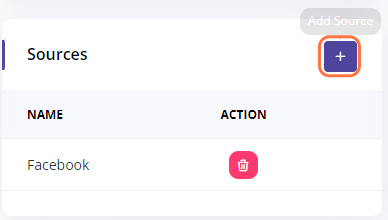
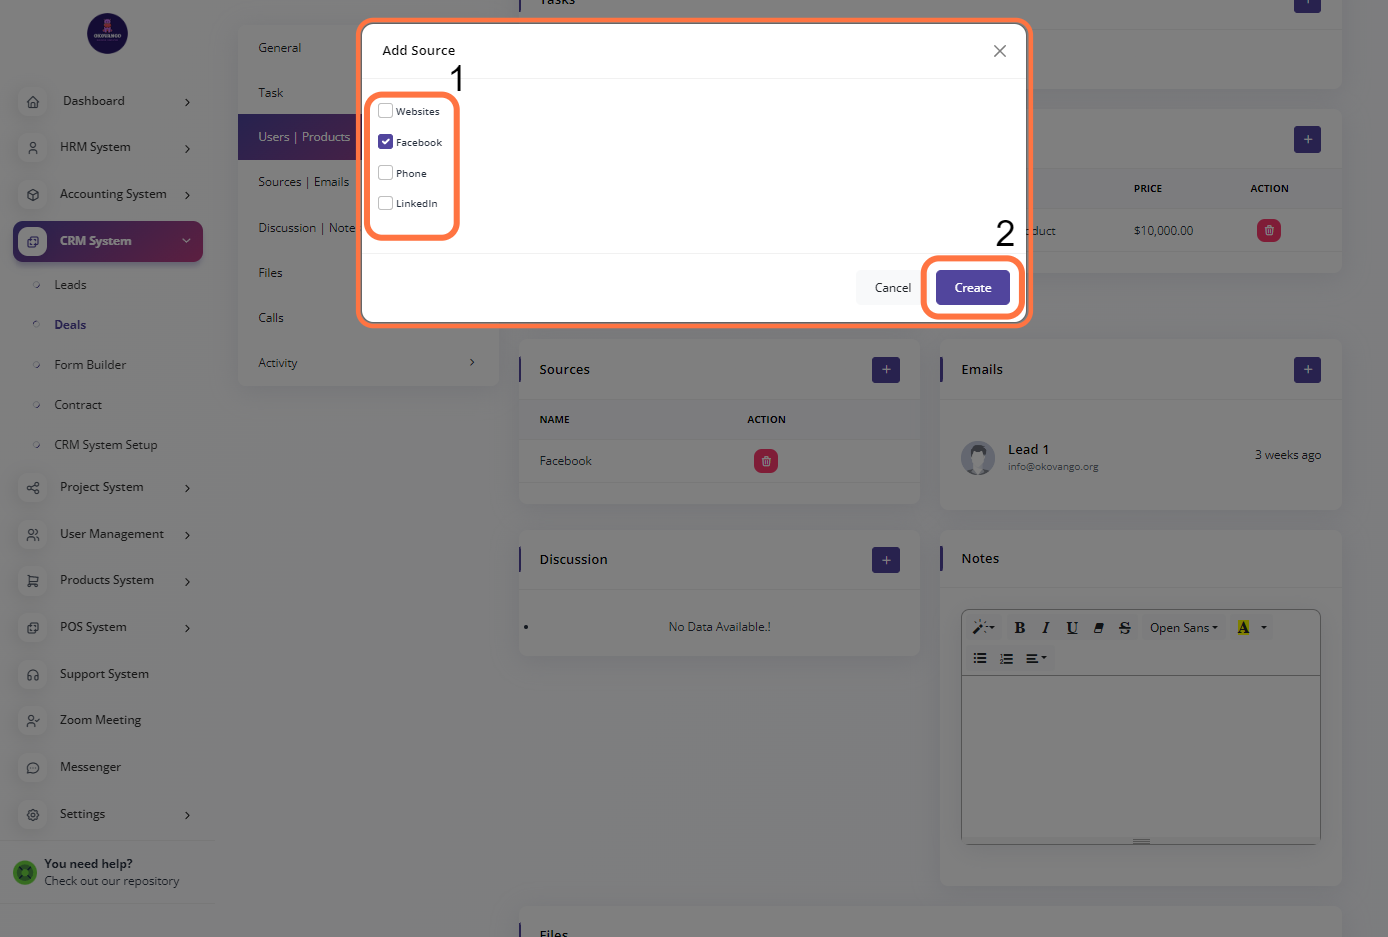
Source
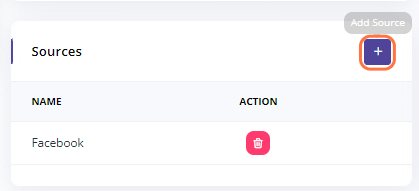
To add a source in the CRM system, you can follow these steps:
- Select the desired source from the available options. You can select multiple sources if applicable.
- Click the "Create" or "Add" button to add the selected sources to the system.
Adding sources in the CRM system allows you to track and analyze the origin of leads and deals. It helps in understanding which sources are driving customer engagement and sales, enabling you to optimize your marketing and sales strategies accordingly.
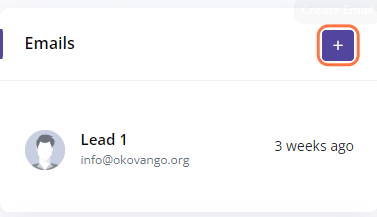
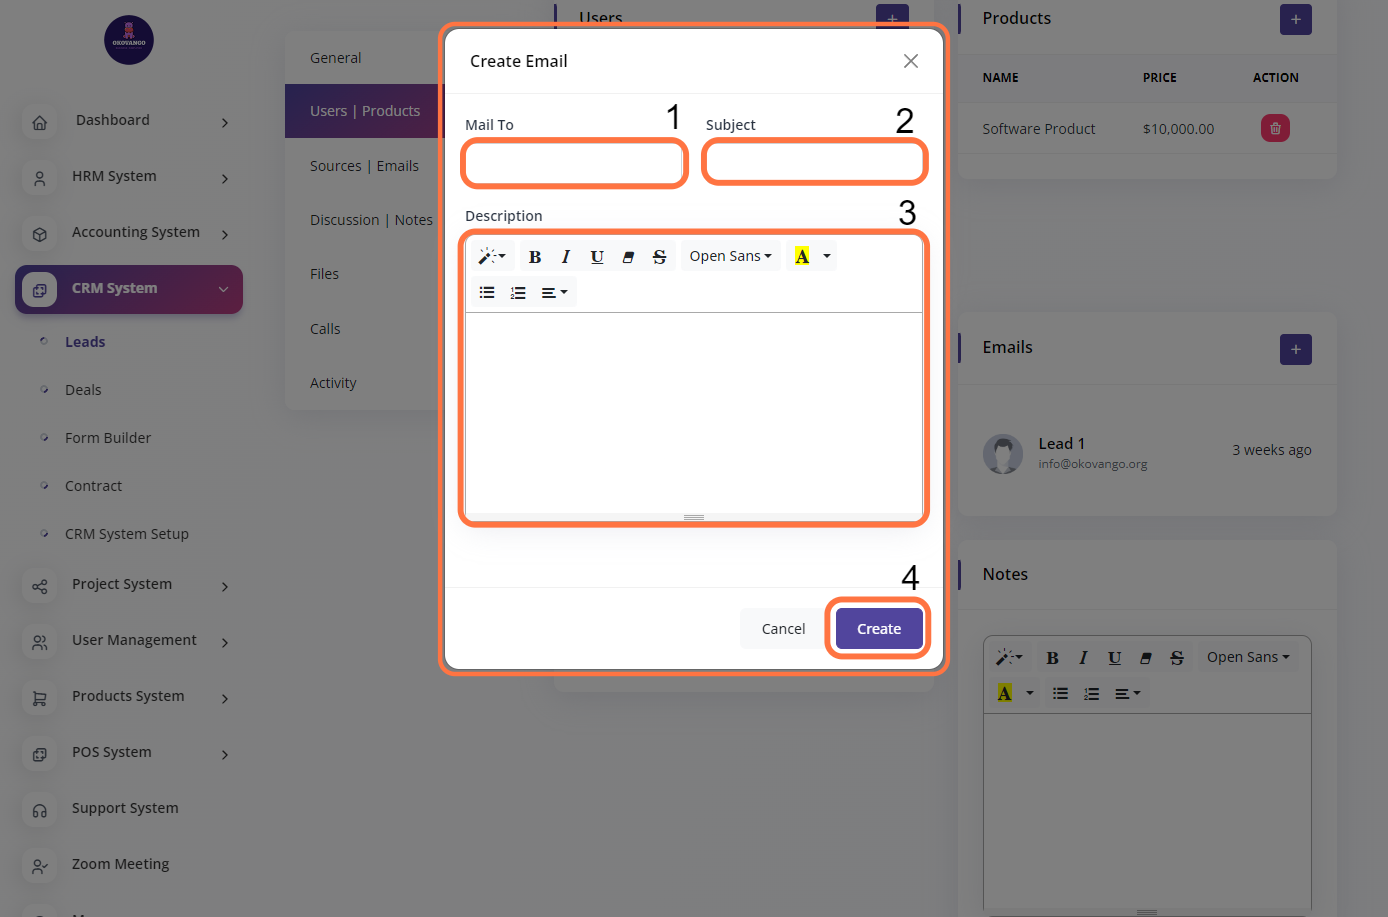
Emails

To create an email in the CRM system, you can follow these steps:
- Enter the recipient's email address in the "Mail to" field.
- Provide a subject for the email in the "Subject" field.
- Enter the email content or description in the appropriate field.
- Click the "Create" or "Send" button to send the email.
Adding emails in the CRM system allows you to track and manage communication with customers and leads. It helps in maintaining a centralized record of email interactions, facilitating efficient customer relationship management and follow-ups.

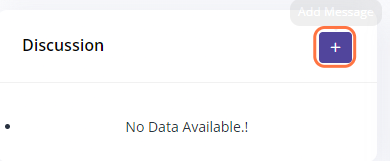
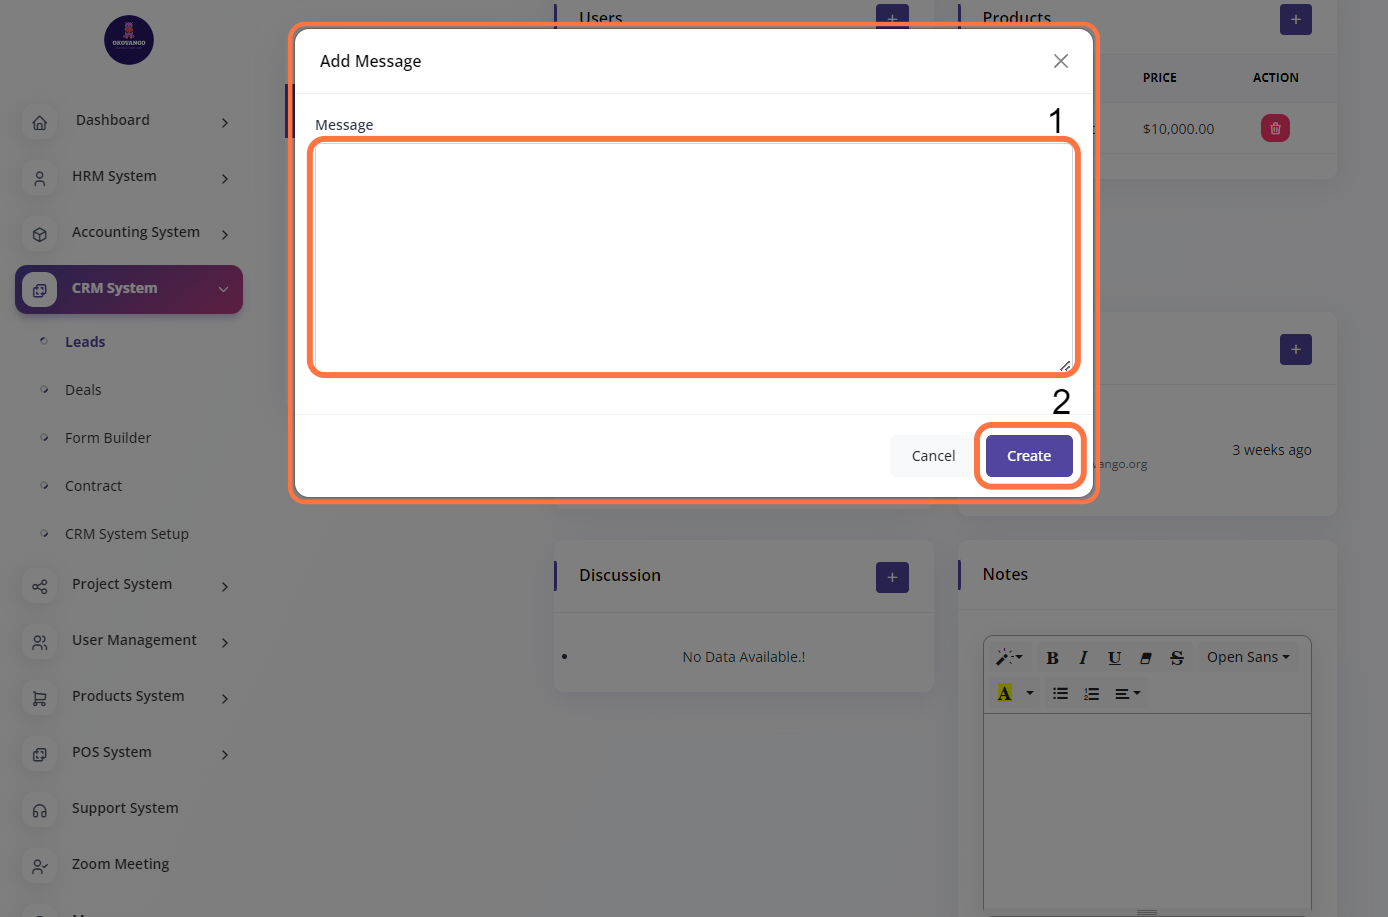
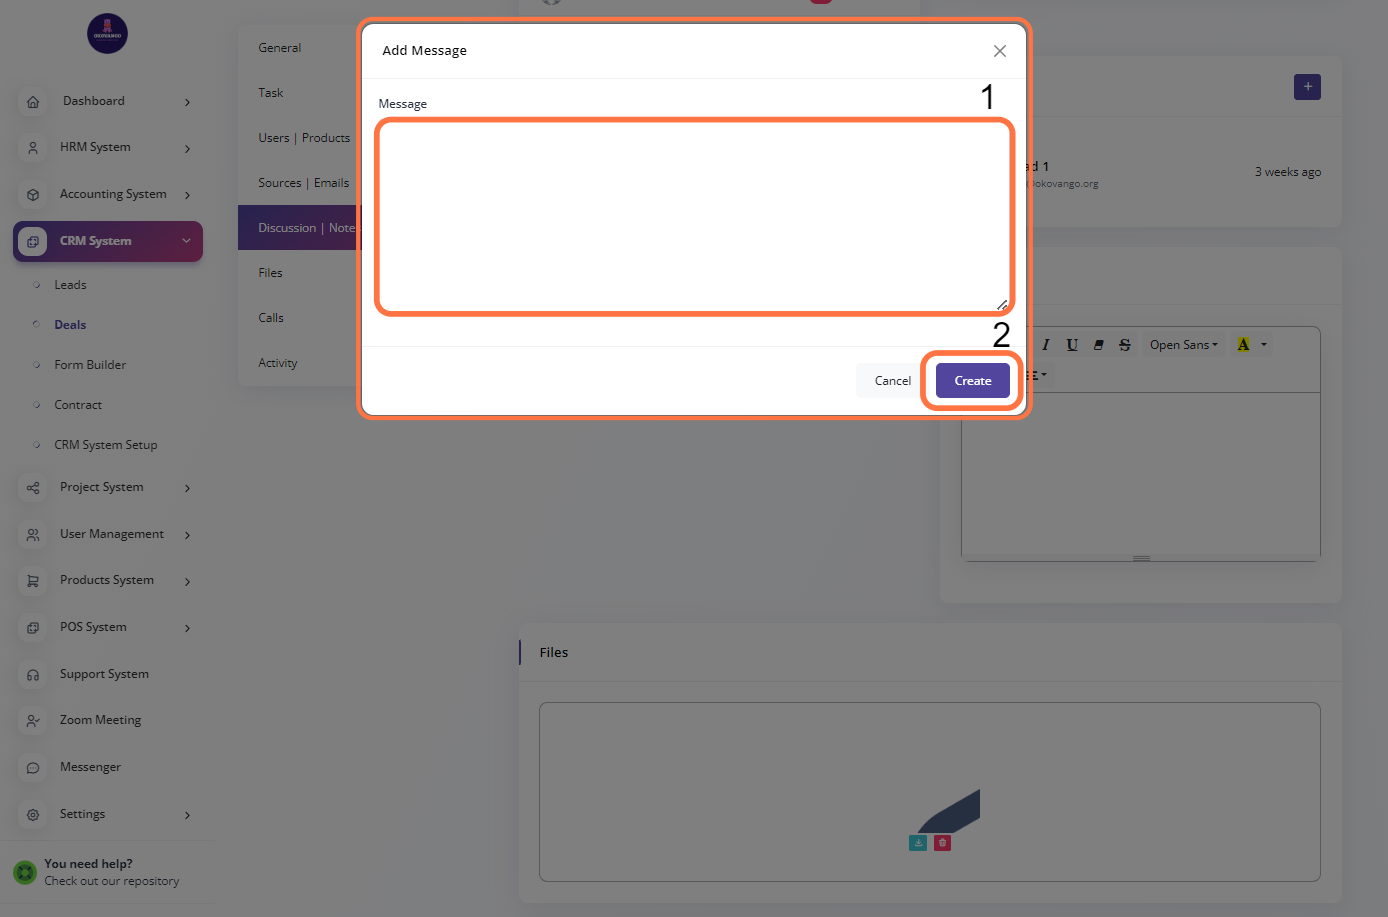
Discussion

To add a discussion in the CRM system, you can follow these steps:
- Enter your message or discussion content in the provided field.
- Click the "Create" or "Post" button to save and publish the discussion.
Adding discussions in the CRM system allows team members to collaborate, share information, and have conversations related to specific deals or customers. It helps in improving communication and knowledge sharing within the organization, leading to better customer engagement and decision-making.
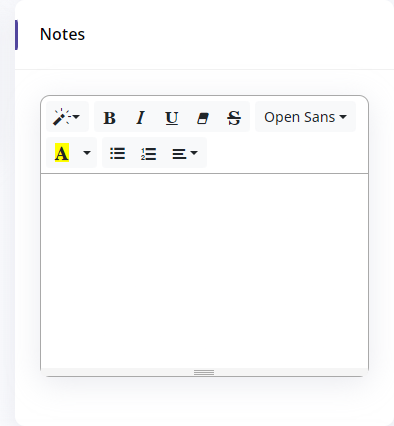
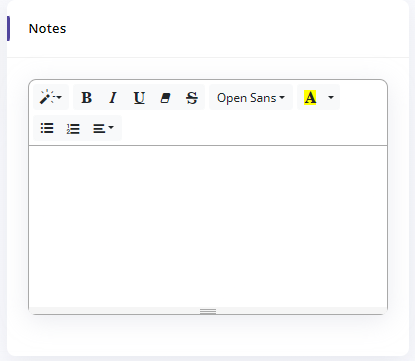
Notes
Users have the option to add notes. Notes can be added by entering relevant information or comments in the provided space. Upon completion, the user can save the notes to record important details, observations, or updates pertaining to the specific context or subject.
Files
Users have the ability to upload and attach files in this section. By selecting the desired file from their device or system, users can add relevant documents, images, or other file types to associate them with the current context or subject. This allows for convenient storage and retrieval of supporting materials related to the specific task, project, or discussion.

Calls

After clicking the create button, users can add a call by following these steps:
- Enter the subject of the call.
- Select the call type from the available options.
- Specify the duration of the call.
- Choose the assignee or person responsible for the call.
- Provide a description or any additional information related to the call.
- Indicate the result or outcome of the call.
- Click the create button to save the call entry.
This allows users to track and document their communication activities, ensuring a comprehensive record of calls made within the CRM system.
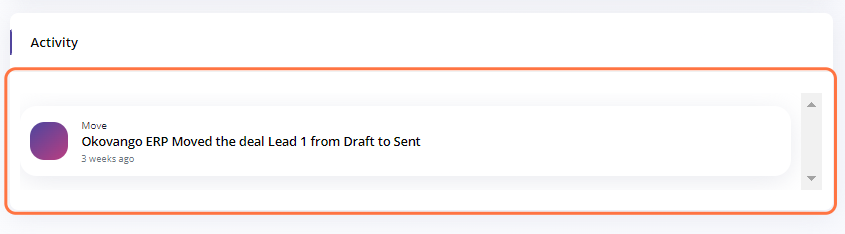
Activity
Users can view all the activities related to the deals. This includes a comprehensive list of tasks, products, sources, discussions, files, calls, and other relevant activities associated with the deals. It provides a centralized view of all the actions and interactions taken within the CRM system, allowing users to have a complete overview of the deal's progress and history.